Random things....
Here you'll find various articles and post about general things that I'm doing, have done etc. I'll try for the most parts to keep it to the point with videos, pics and short explanations. Once again, it's mostly a way for me to keep tabs on things that I find of interest.! Hope you'll find some stuff there too. (*^_^*).
Here you'll find various articles and post about general things that I'm doing, have done etc. I'll try for the most parts to keep it to the point with videos, pics and short explanations. Once again, it's mostly a way for me to keep tabs on things that I find of interest.! Hope you'll find some stuff there too. (*^_^*).
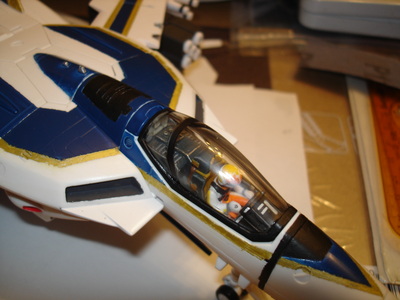
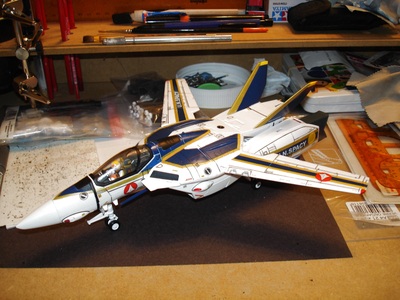
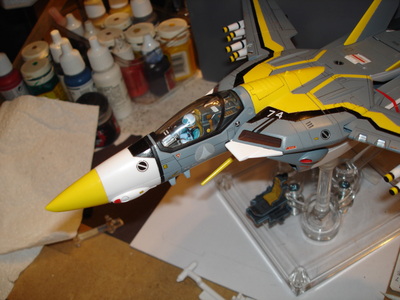
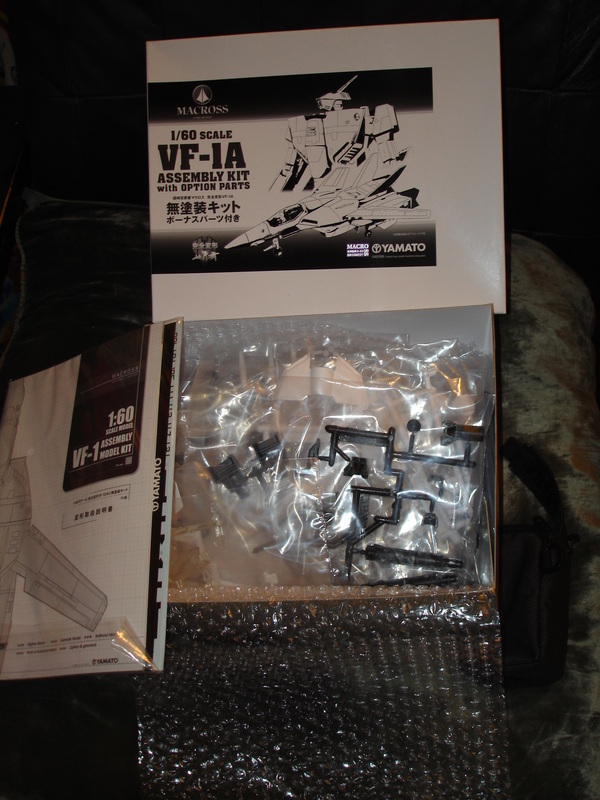
Yamato 1/60 Unpainted VF-1A: December 2013. time taken, about 30 hours,but still not finished....
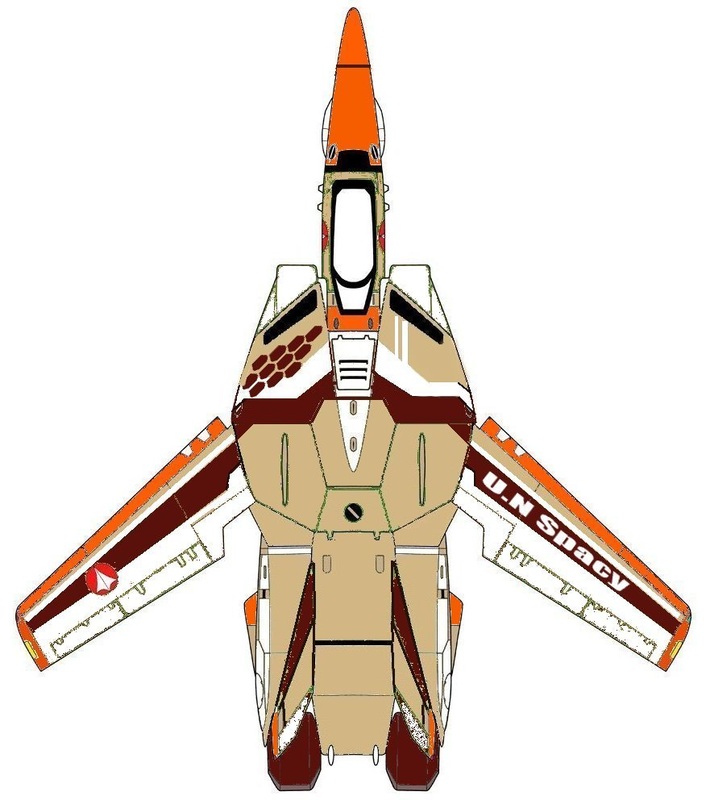
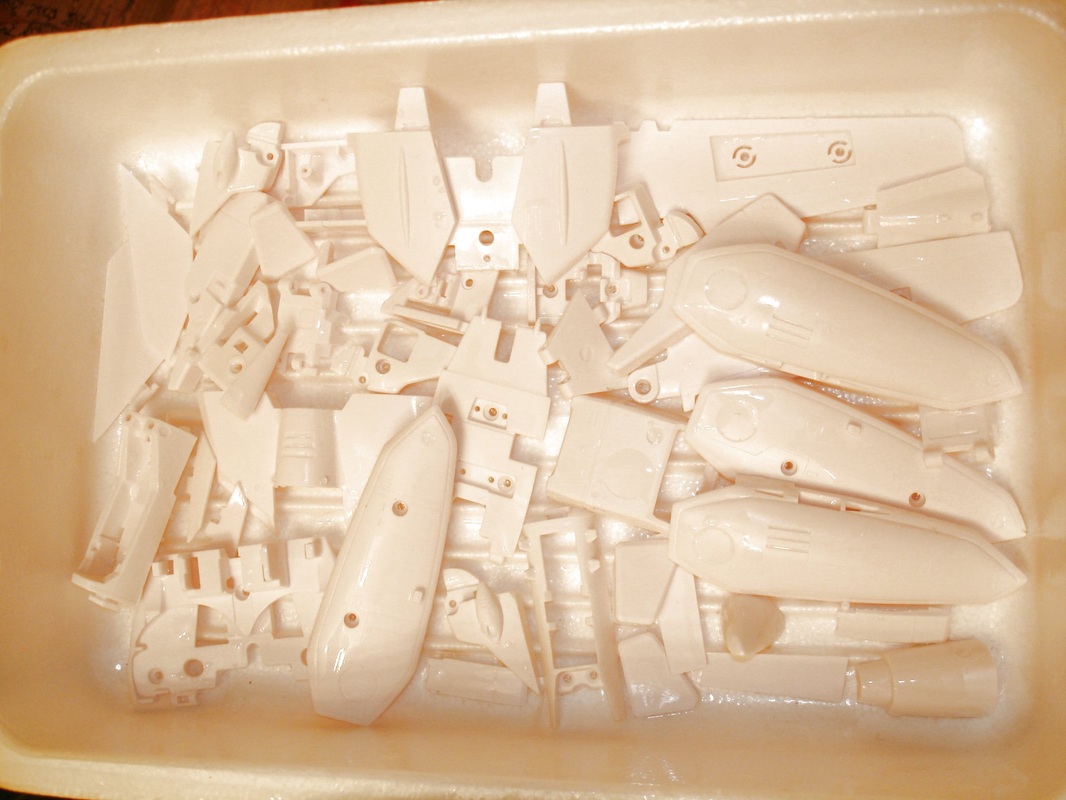
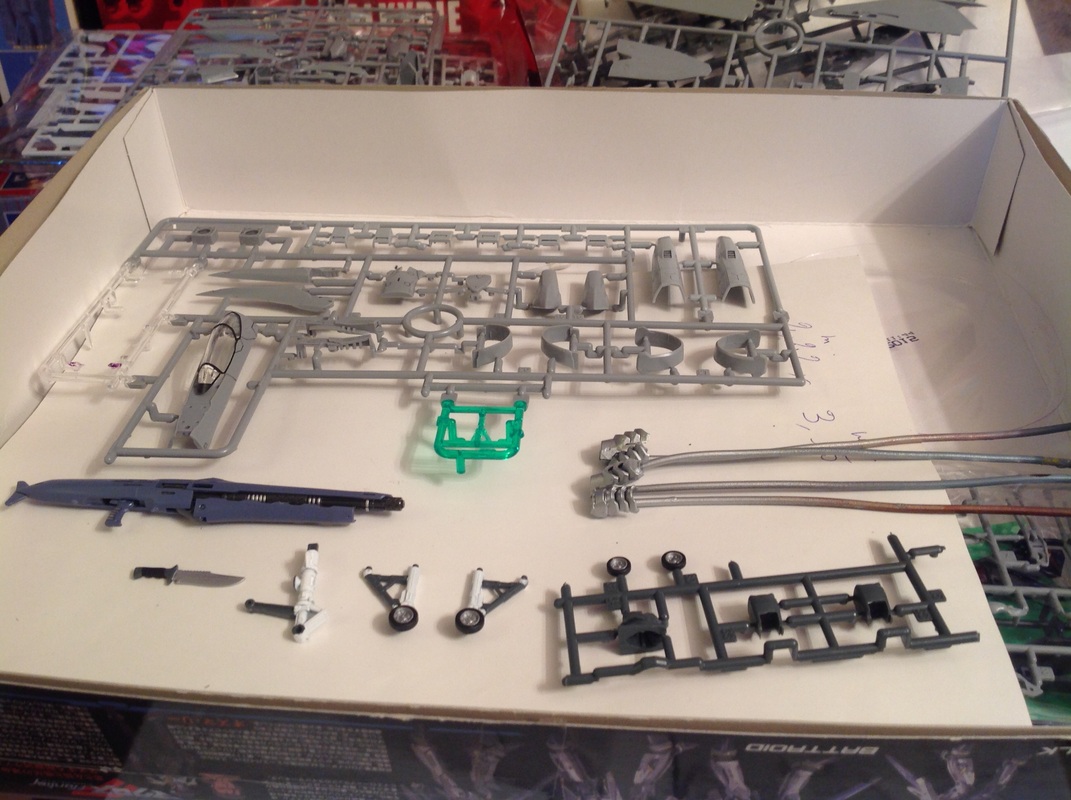
I'd been wanting to get my hands on one of these kits for a while and finally bit the bullet this X-Mas. I bought the VF-1A. Being a total blank kit, I wanted to paint it in a different way, I mean, what is the point of making it look like another Roy, or Miria or whatever VF that you can buy already built and painted. After some thoughts and research I decided to opt for a '50 Grand' Themed VF. Hasegawa made a fighter kit with that color scheme and as far as I'm aware that's the only version available. So as it looks different from other VF's and does not exist in toy form or transformable I opted to try and go for that one.
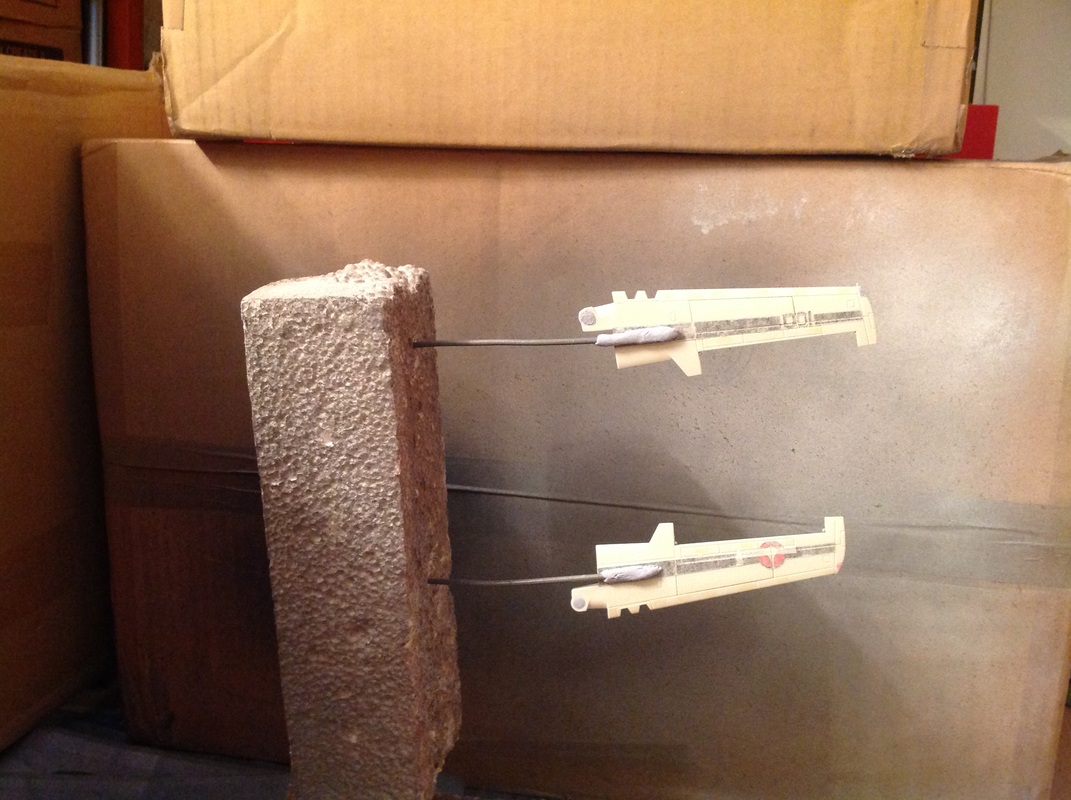
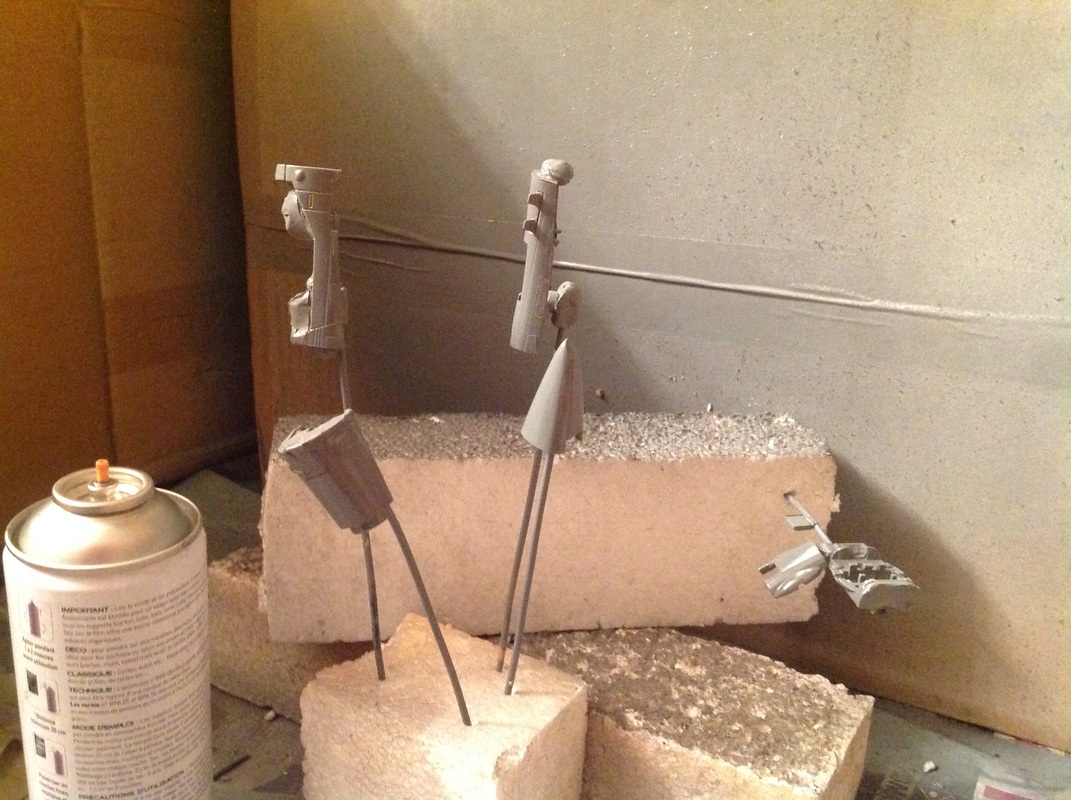
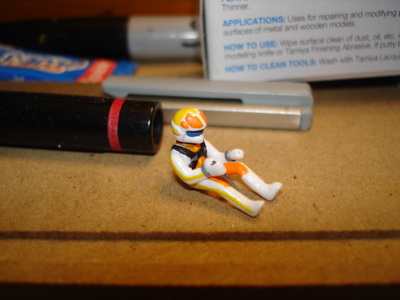
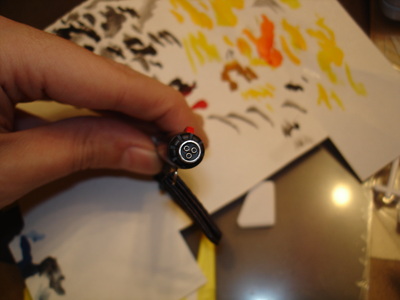
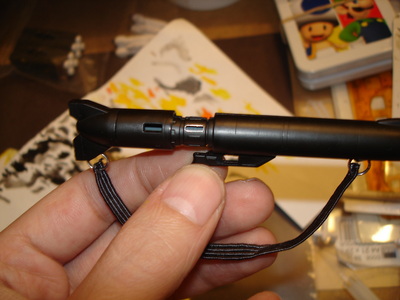
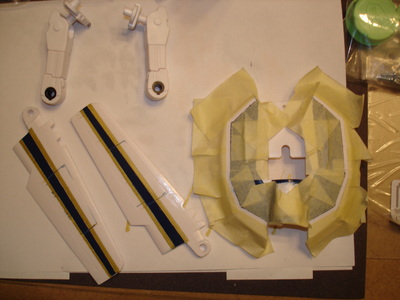
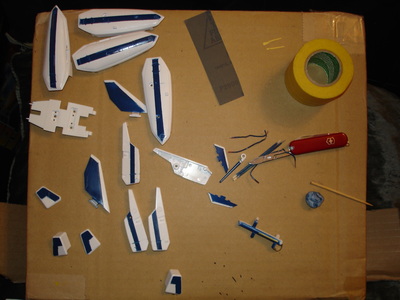
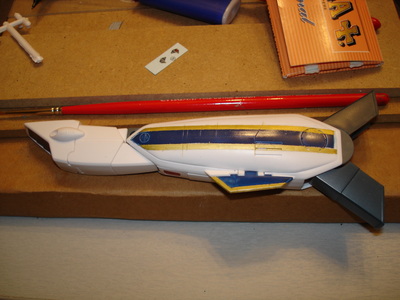
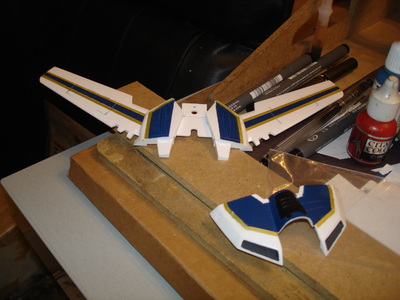
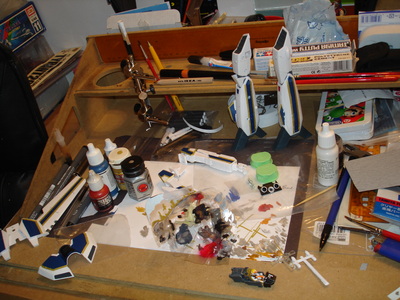
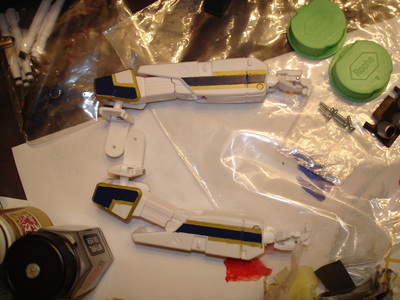
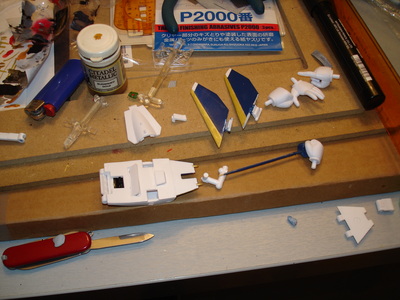
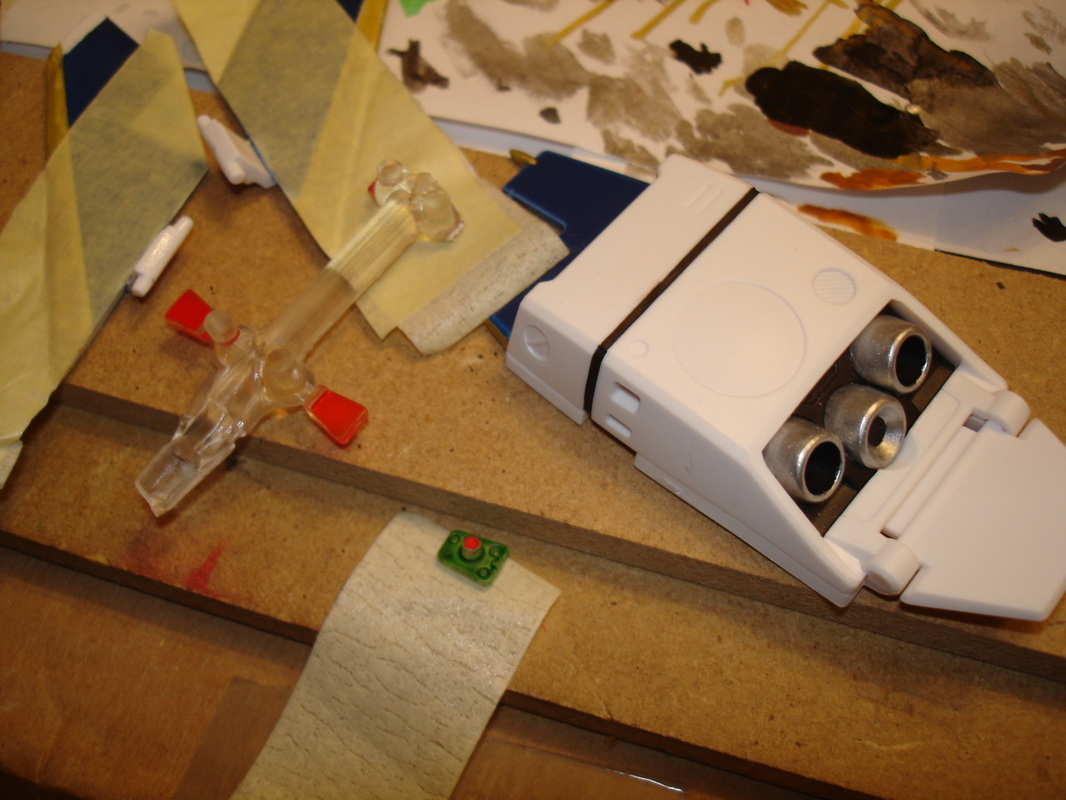
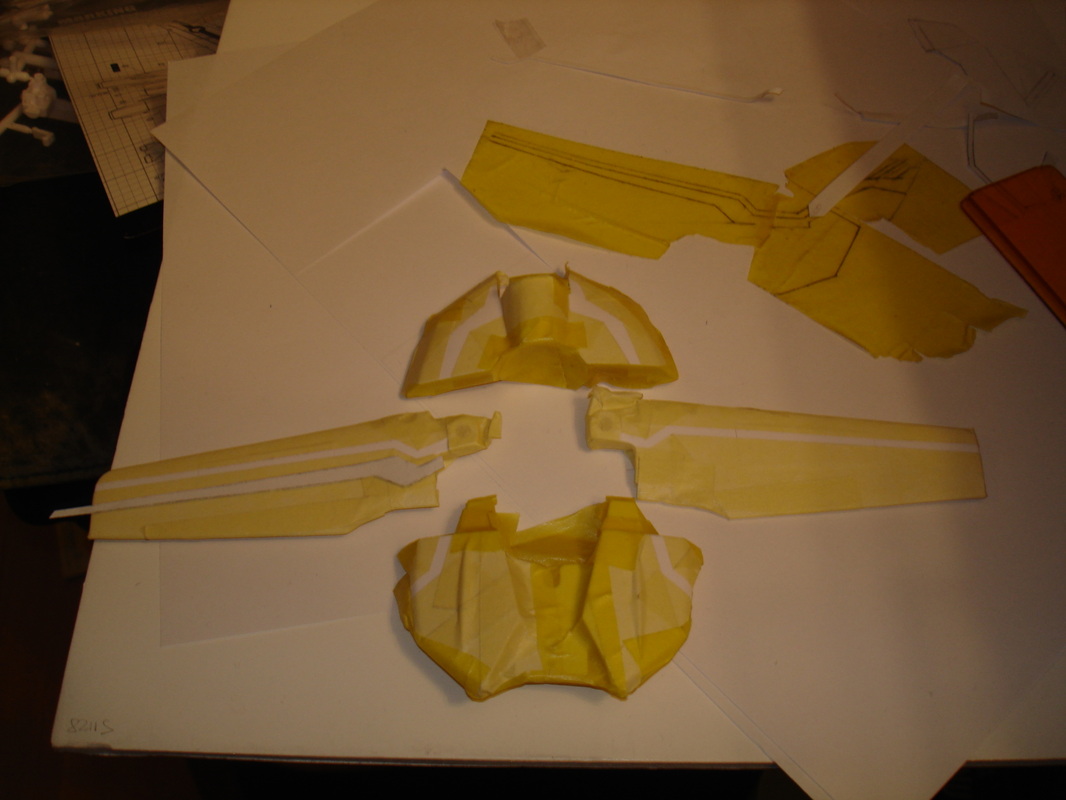
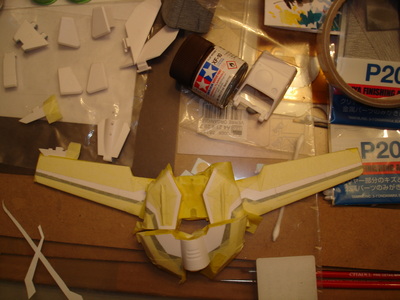
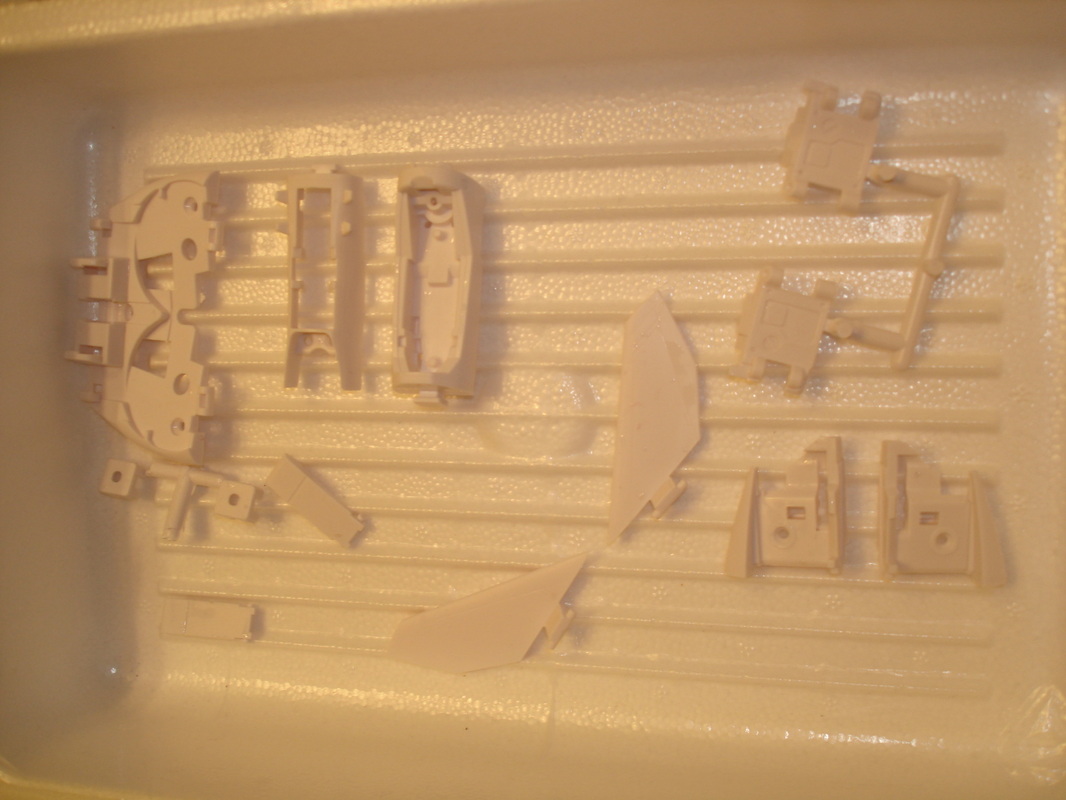
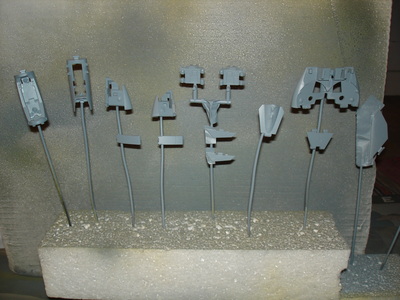
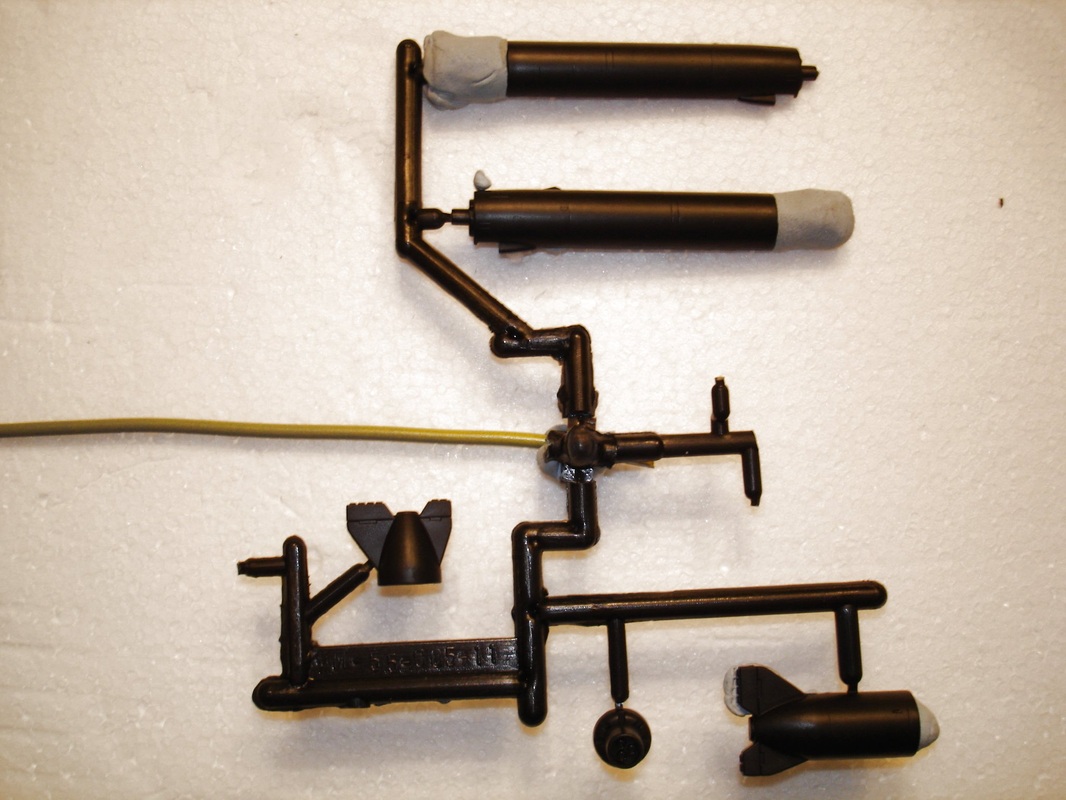
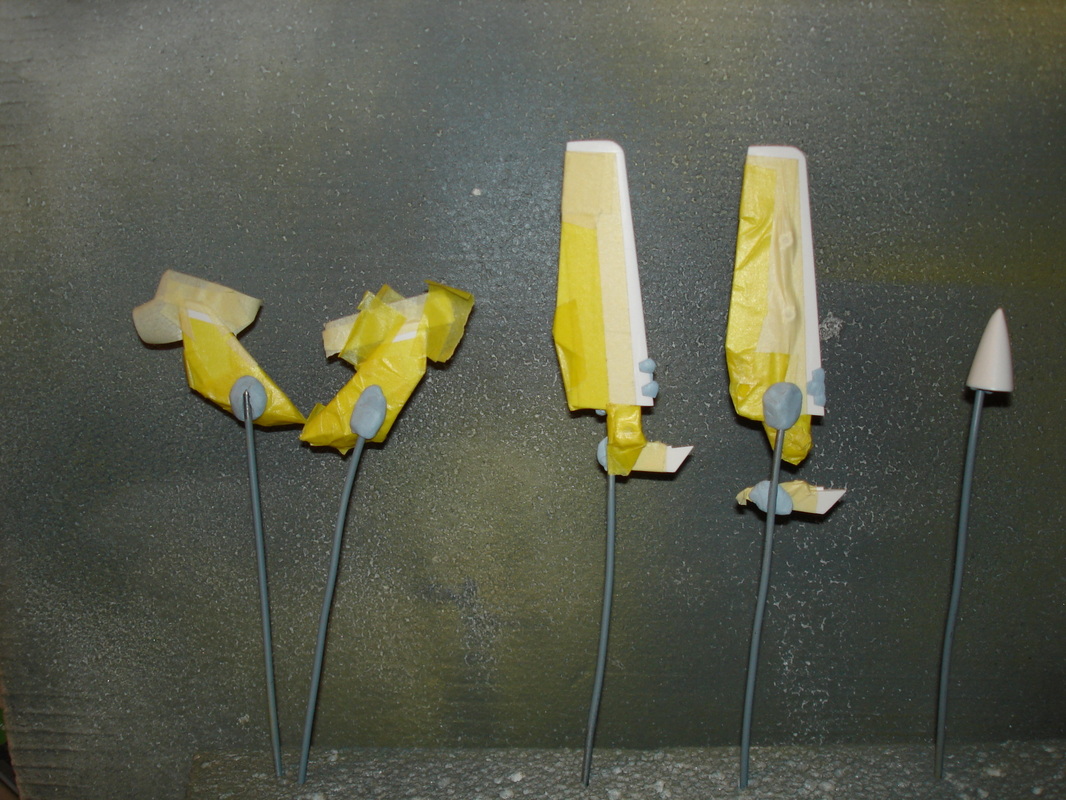
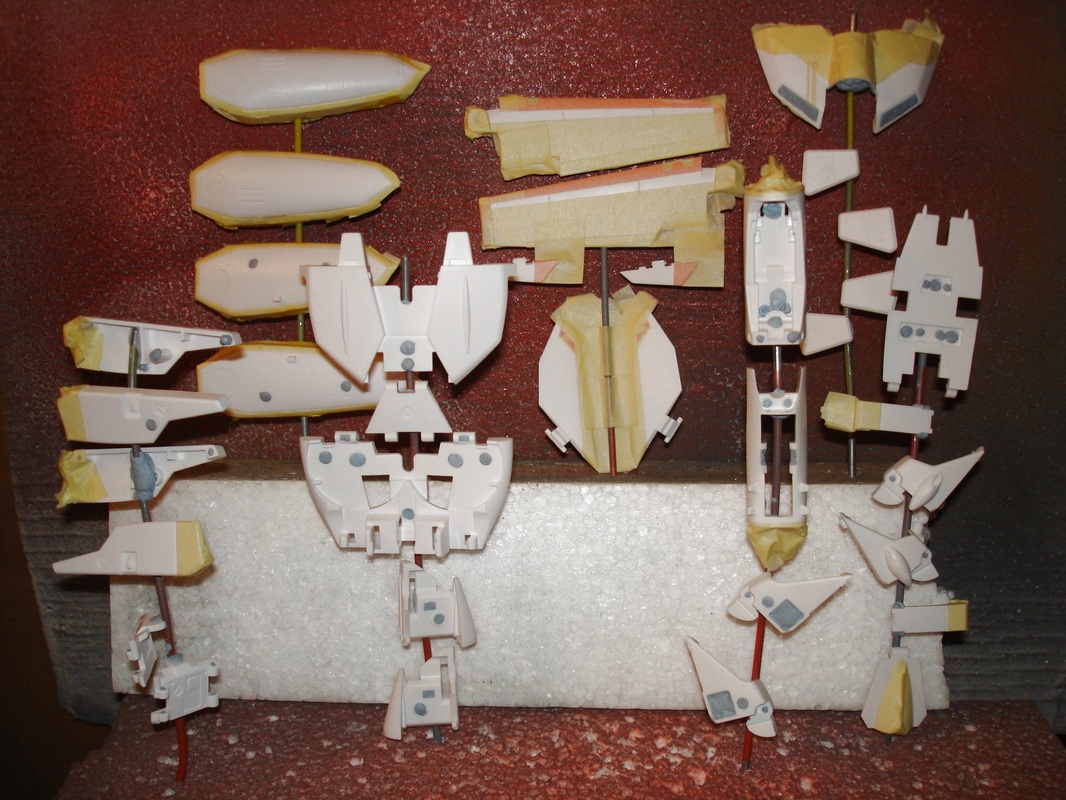
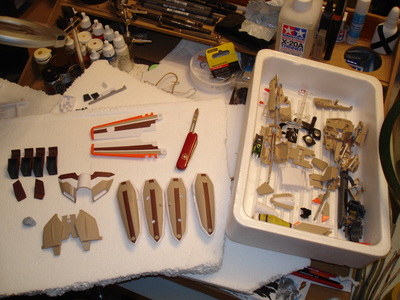
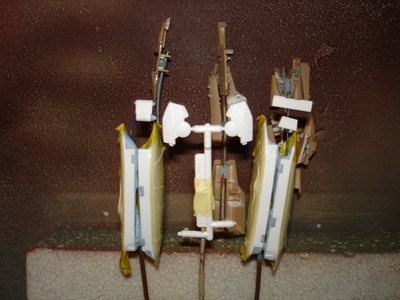
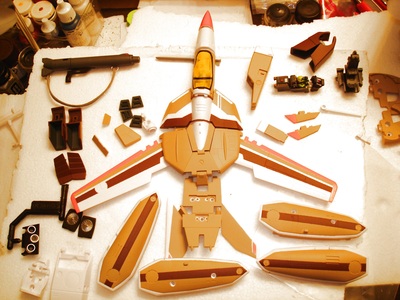
As far as building is concerned, I did not find it particularly challenging aside maybe for some little metal pegs that are really a pain in the A** to fit in without breaking anything!! For me, the challenge is more the painting, I'm really much more comfortable painting small detailed pieces...And for that one..I had to use spray cans as my Airbrush is on the blink...To me..that's where the problems start....masking tape etc....not easy to get the straight line without paint finding its way below the masking tape....*SIGH*... Anyway....here are some pics of the work in progress...It's getting there, but I still need to put the finishing touches, Re-paint some bits (gold parts) and varnish the whole thing.(>_<)
I'd been wanting to get my hands on one of these kits for a while and finally bit the bullet this X-Mas. I bought the VF-1A. Being a total blank kit, I wanted to paint it in a different way, I mean, what is the point of making it look like another Roy, or Miria or whatever VF that you can buy already built and painted. After some thoughts and research I decided to opt for a '50 Grand' Themed VF. Hasegawa made a fighter kit with that color scheme and as far as I'm aware that's the only version available. So as it looks different from other VF's and does not exist in toy form or transformable I opted to try and go for that one.
As far as building is concerned, I did not find it particularly challenging aside maybe for some little metal pegs that are really a pain in the A** to fit in without breaking anything!! For me, the challenge is more the painting, I'm really much more comfortable painting small detailed pieces...And for that one..I had to use spray cans as my Airbrush is on the blink...To me..that's where the problems start....masking tape etc....not easy to get the straight line without paint finding its way below the masking tape....*SIGH*... Anyway....here are some pics of the work in progress...It's getting there, but I still need to put the finishing touches, Re-paint some bits (gold parts) and varnish the whole thing.(>_<)

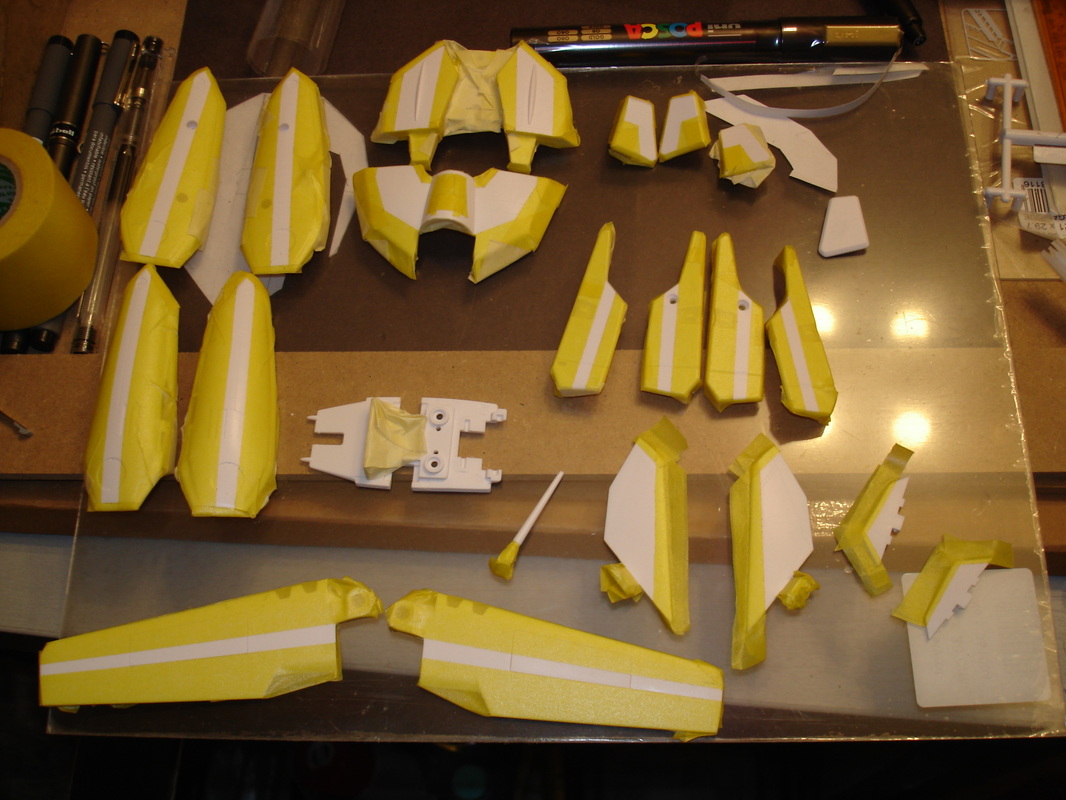
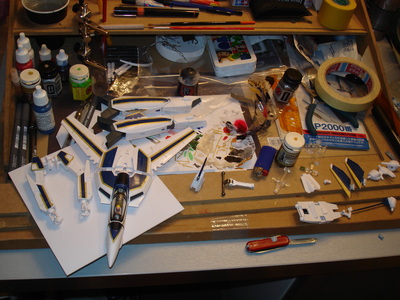
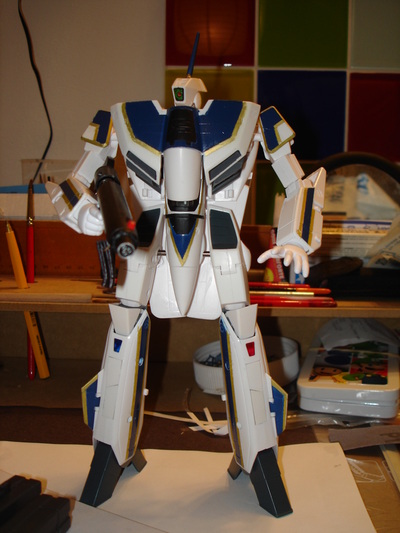

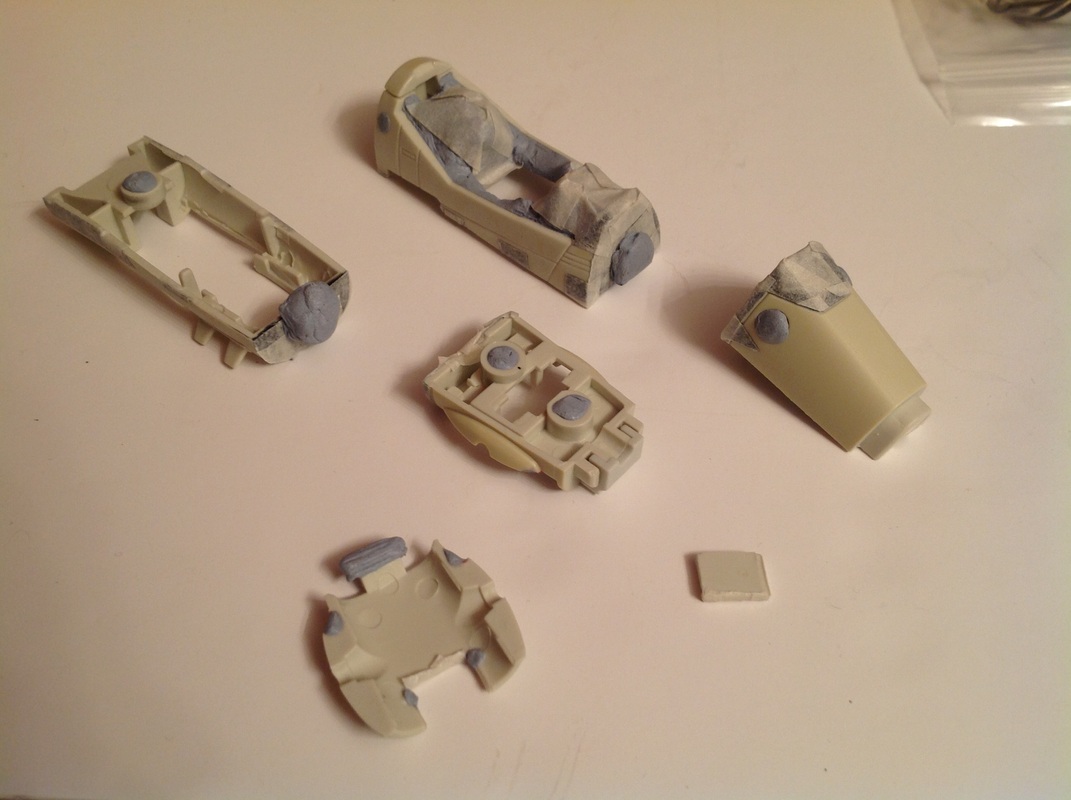
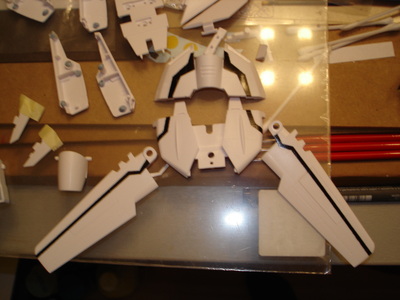
Well, I'm nearly there, but the panel lines are a pain...I don't have the right graph pen and did not feel brave enough to just dry-brush them, too much hassle. Also need to apply decals and other stuff before I can consider it done.
I had a great time building this kit, but. I just don't feel they can justify charging so much for the finished ones that Yamato and now Arcadia are releasing. The die-cast content is near zero aside from a few parts. Yes, it looks really great (although a bit skinny in my opinion...) but line art is near-perfect.
Still, I prefer the 1/60 Version 1. Yes, they have flaws, but they also have die-cast, are really solid and look more like toys. I like realistic looking figures, but I prefer toys, things that you can handle over and over again without having your heart stop every time you handle the figure!!
Anyway..I'm rambling again. As soon as I'm done and satisfied with the finishing touches, I'll post the final pics.
In all, I'd recommend this kit to people with modelling skills (unless you want a totally white VF with no details whatsoever!). It's not like building a Gundam kit, that's for sure. But if you're up for a challenge it's a really satisfying build!
Looking forward to my next one already ;-)
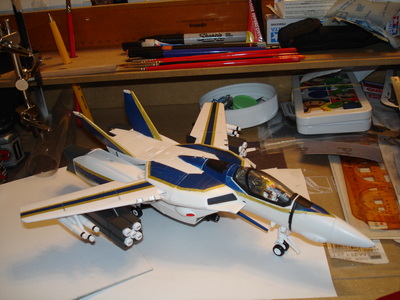
Edit: 09/01/2014: O.k, panel lining done, all decals applied...(No Step..No Step...No Step..That was so much fun....yeah right!).
So It's 97% done, need to varnish it and a few little touches here and there! Also I already ordered another one !! \(*^_^*)/
I had a great time building this kit, but. I just don't feel they can justify charging so much for the finished ones that Yamato and now Arcadia are releasing. The die-cast content is near zero aside from a few parts. Yes, it looks really great (although a bit skinny in my opinion...) but line art is near-perfect.
Still, I prefer the 1/60 Version 1. Yes, they have flaws, but they also have die-cast, are really solid and look more like toys. I like realistic looking figures, but I prefer toys, things that you can handle over and over again without having your heart stop every time you handle the figure!!
Anyway..I'm rambling again. As soon as I'm done and satisfied with the finishing touches, I'll post the final pics.
In all, I'd recommend this kit to people with modelling skills (unless you want a totally white VF with no details whatsoever!). It's not like building a Gundam kit, that's for sure. But if you're up for a challenge it's a really satisfying build!
Looking forward to my next one already ;-)
Edit: 09/01/2014: O.k, panel lining done, all decals applied...(No Step..No Step...No Step..That was so much fun....yeah right!).
So It's 97% done, need to varnish it and a few little touches here and there! Also I already ordered another one !! \(*^_^*)/
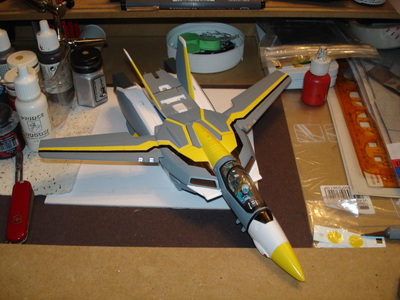
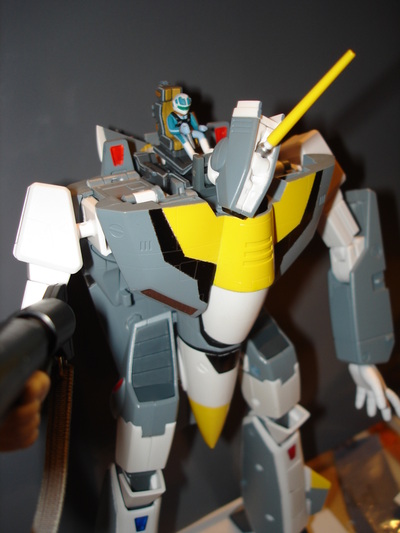
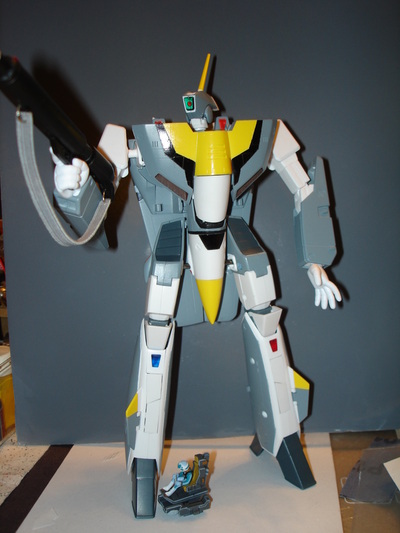
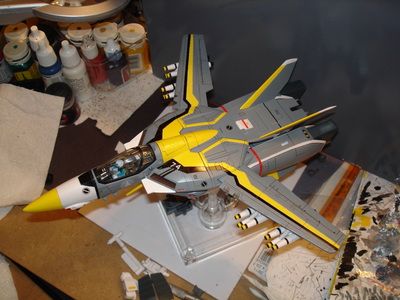
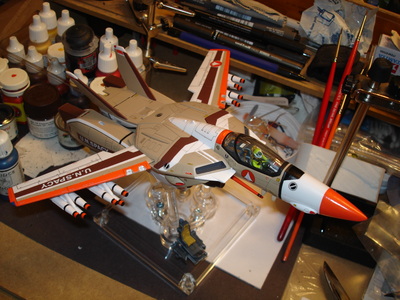
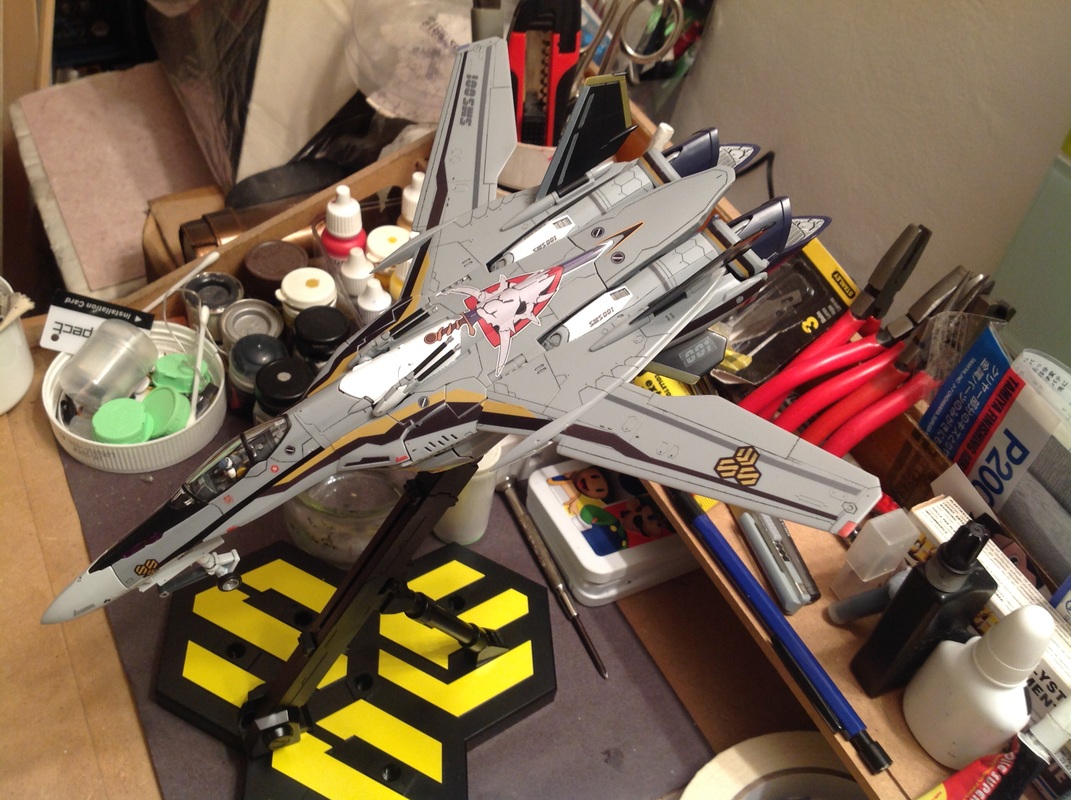
Yamato 1/60 Unpainted VF-1A: started Saturday 18th January 2014...Status..unfinished. EDIT: 7th February: 97% finished!
Here I go again. As soon as I finished the last Yamato kit...I received another one... BUT..this one is causing me more hassle.
For the last one, I knew exactly how I wanted the theme to be like. For this one..well I had 3 ideas in mind. A 'Macross the First' scheme, mixed with a Macross Frontier, mixed with a cannon fodder....result: not too sure !!.
Anyway. Not finished yet quite a way to go.
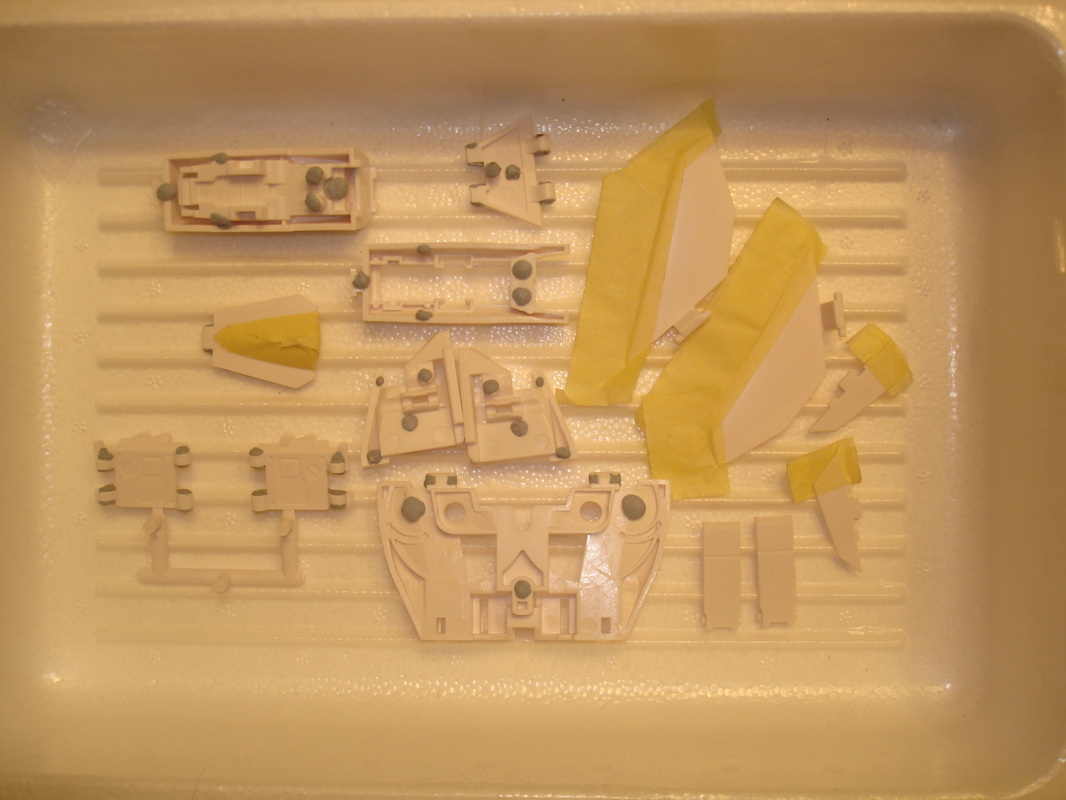
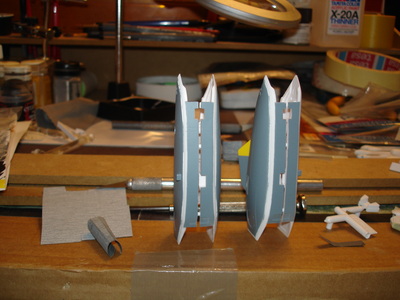
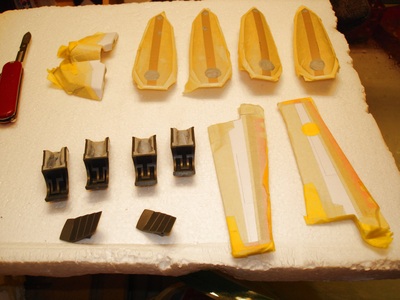
The masking job on that one took forever and was a pain in the backside.
Overall, I'm really happy with most parts, but others..not too sure. I should've followed up the color scheme from the top of the fuselage onto the legs etc...but kinda too late for that now (I don't like to paint light colors on top of darker ones...especially as it would make the tones turn up differently on the legs and top.)
For now it's work in progress...
I'm already thinking about my next one!!! Maybe a camo version, digital camo or something. Is this the start of an addiction?? To be honest..it kills time...(-_-);. I get to have unique VF's in my Macross collection so that's a plus!! And don't have to pay the f'cked up prices that Arcadia/Yamato 1/60 VFs sell for. No way I'd pay that much $$$ when I can do the same myself at a fraction of the cost!!. I'm rambling....:-P
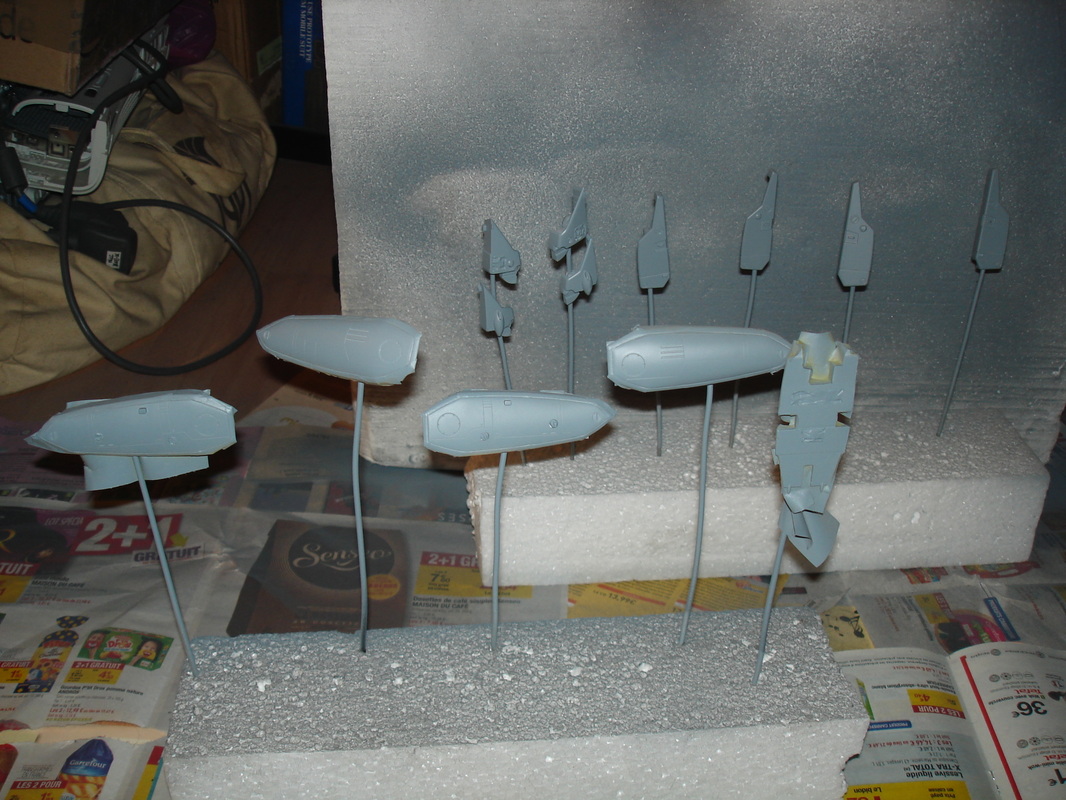
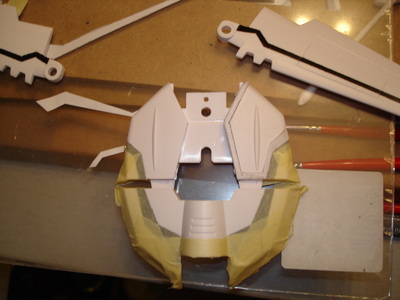
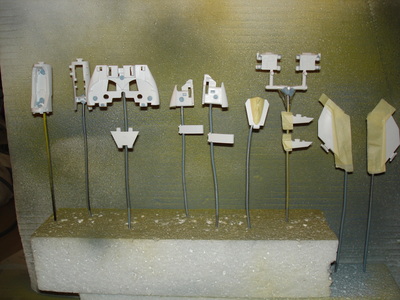
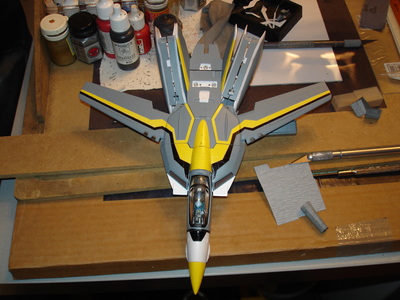
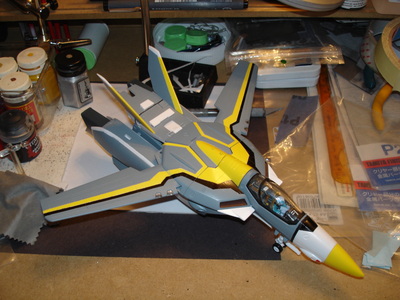
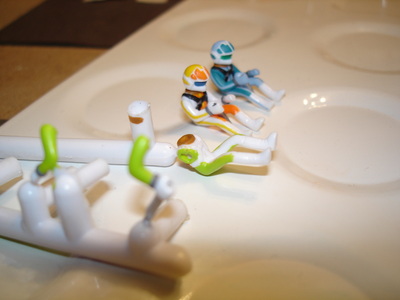
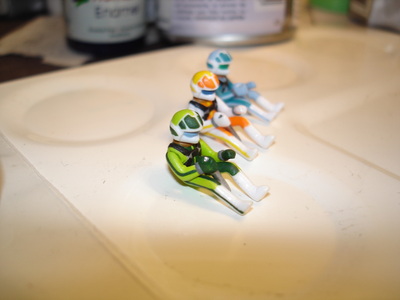
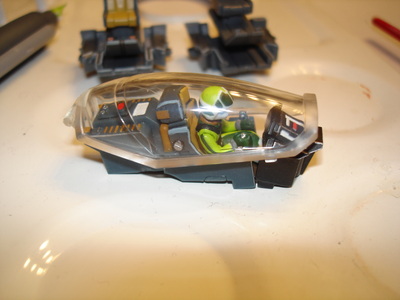
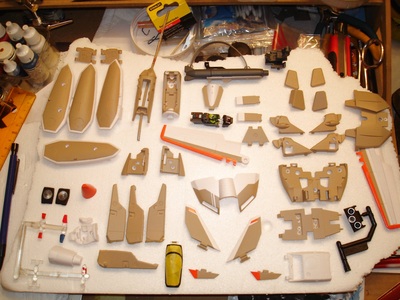
Right here are some pics. I have not yet sorted them out, but my Vf is taking shape.
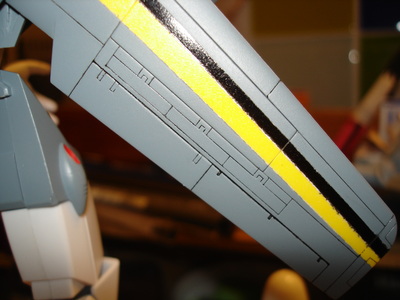
EDIT: 7th February: OK, well I'm nearly done, just need a few details such as tail fin lights and tiny other stuff. Also not too sure if I'll put the UN-Spacy logo on the side of the legs. Spent ages with the 'No Step' decals again..but they are hard to see unless you look at it close up. Same with the panel lines, I used a mixture of black Chinese ink, white acrylic , black enamel and some thinner. It's a very subtle grey that does not really come out well on the pics (-_-);.
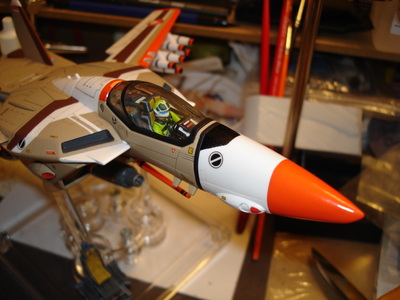
But for the most parts, It's done!! Took me much longer than the last one though. I think I struggled a bit more to tie up all the 3 themes I wanted to have in that one VF. Still, fairly happy with the outcome.
I name it :
- "VF1-74 A"


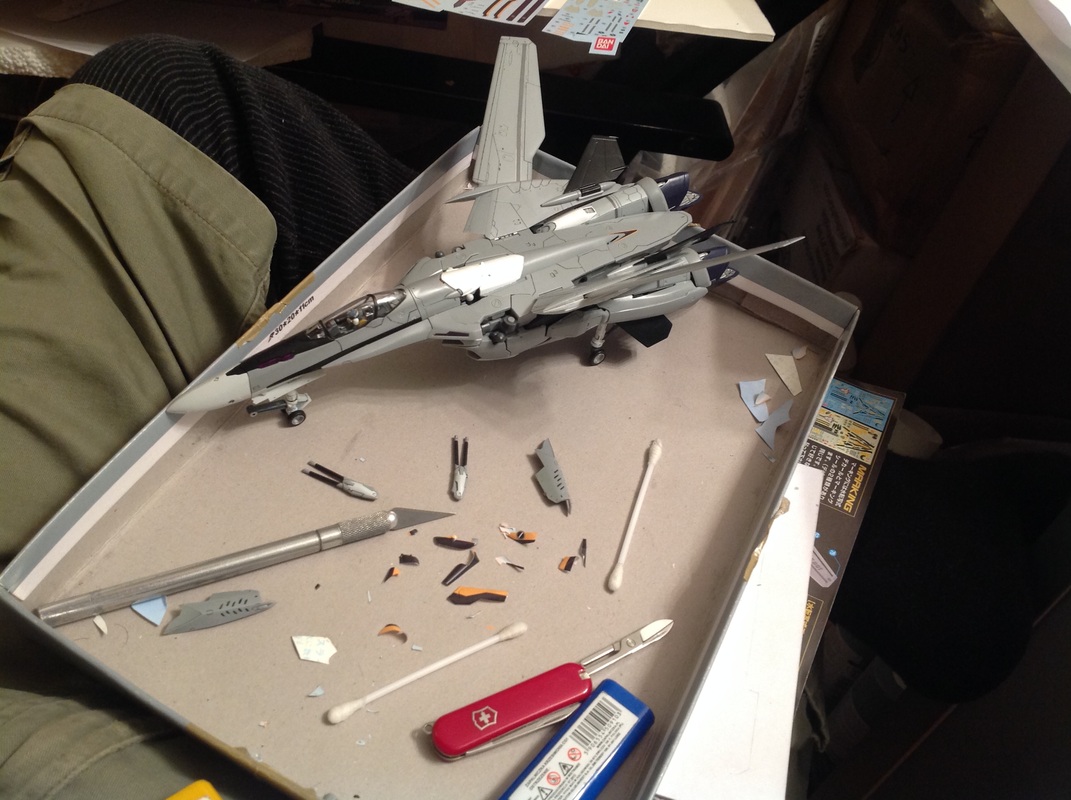
Yamato 1/60 Unpainted VF-1A: February 2014. time taken, about 40 hours,but a lot of wasted-time.......Status: Unfinished as of 10/03/2014 *Sigh*
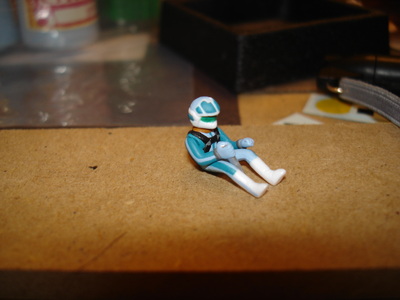
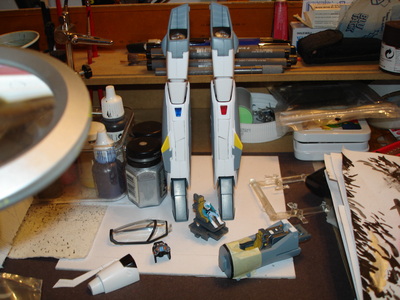
EDIT: Finished 20th March 2014. Time taken...WAY TOOO LONG!!!! The pilot is green...as I initially was going for a green scheme..So kind stands out a bit. Also have still not decided whether to do the shapes on the left side of the cockpit. I kinda like it without them to be honest..(and doing the tiny stencil would have been a pain in the you know what...)
Overall relatively pleased with it. It does at first glance looks similar to my last one, but is actually quite different.
I still prefer my last one, but it came out o.k. For whatever reason though, it took me MUCH longer than expected , but at least once all the parts were put together I did not have anything else to do/paint etc..as everything had been done prior to assembly.
Battroid and Gerwalk pics coming soon..Don't know why I never bother to take all the pics at once....
Now...for shall I get another one....? I fancy a VF-1S for a change ;-)
Also...most of the pics I took whilst working..had horrible lighting..I only realised when it was too late..so...apologies for the crappy colours...
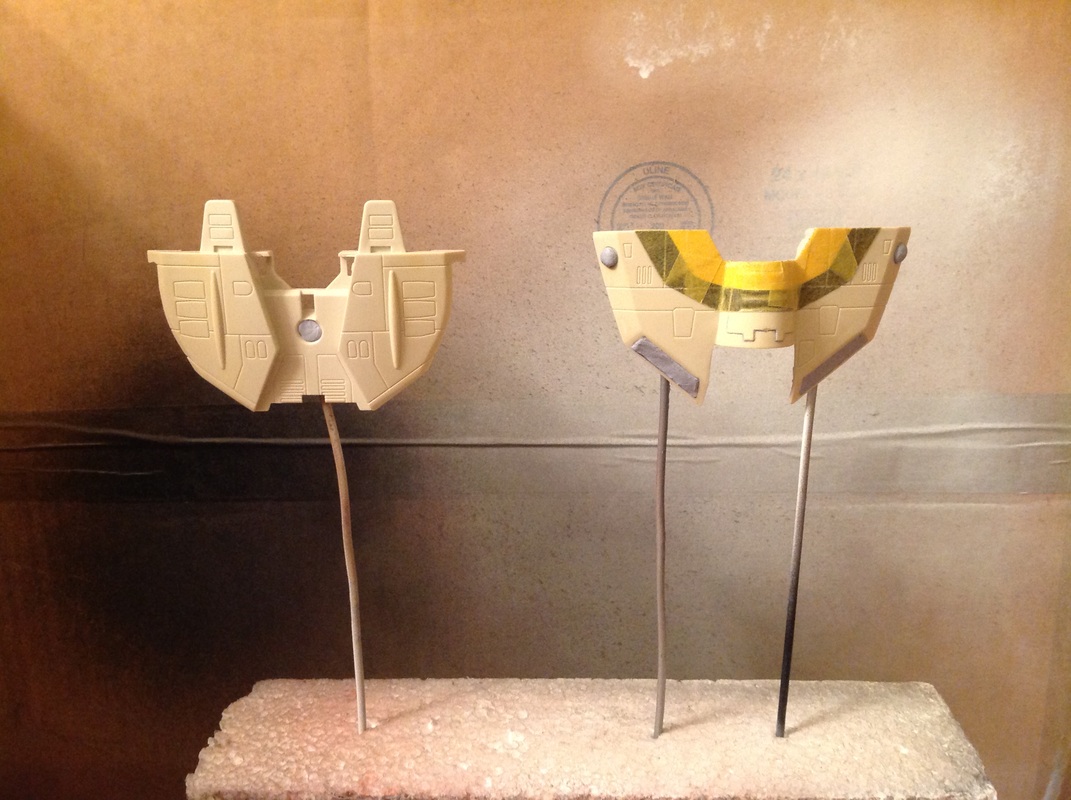
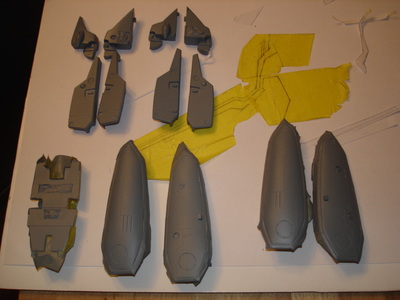
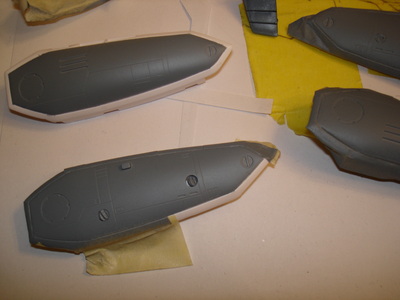
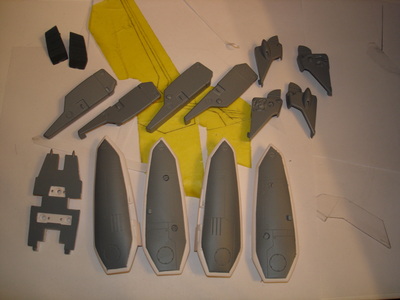
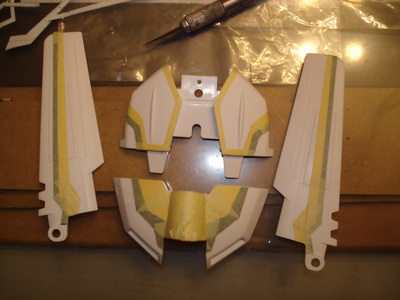
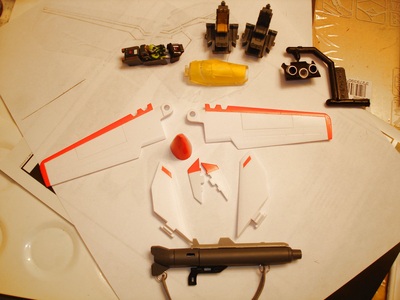
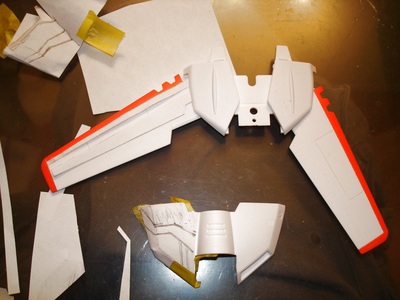
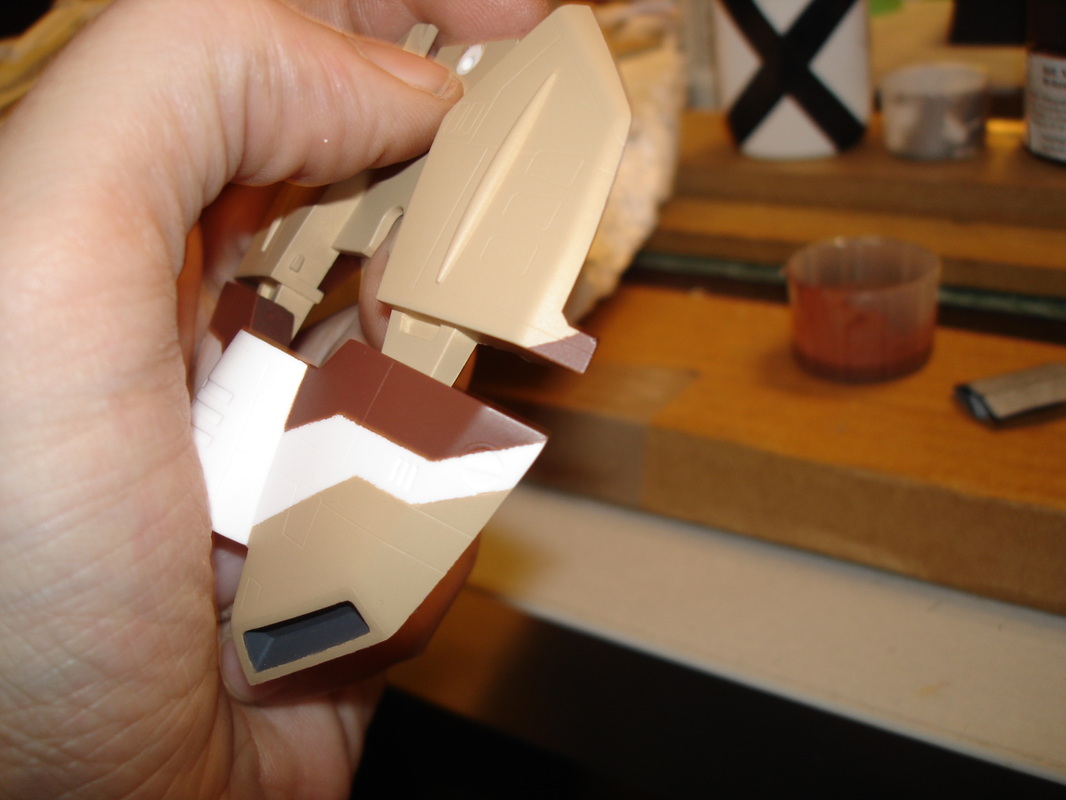
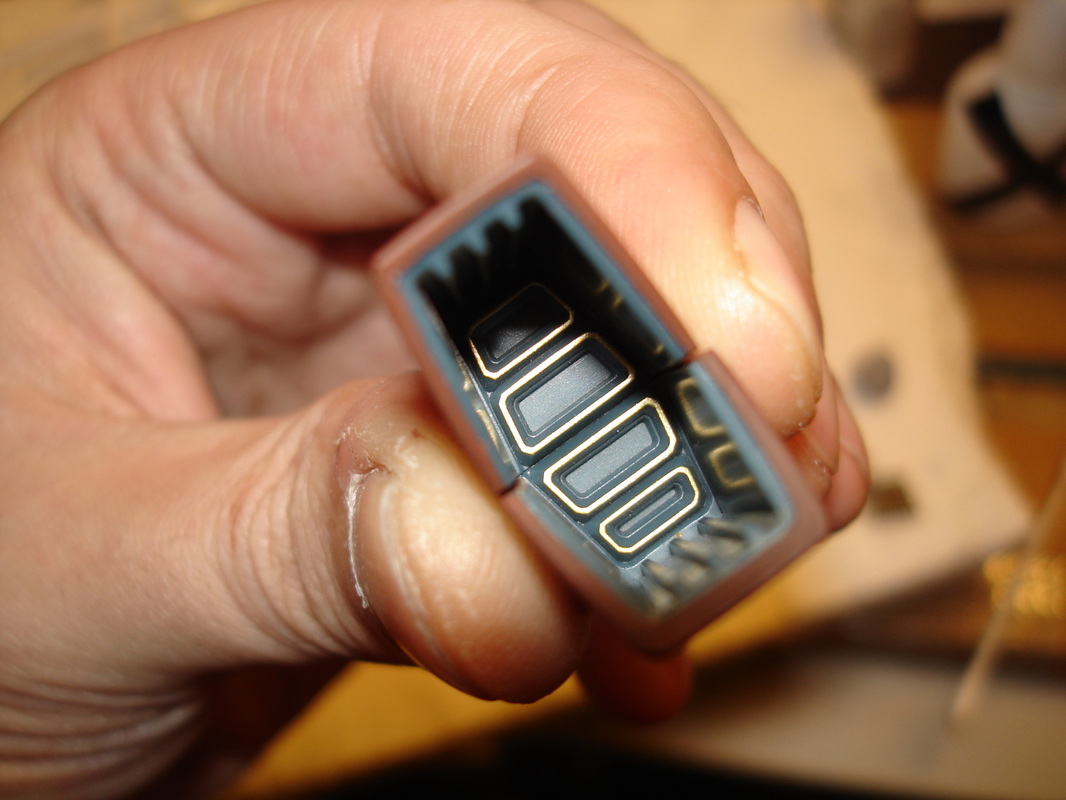
Right!! Round 3 of the VF-1A Yamato 1/60 Kits. it's going to be a :'VF1-74 B'!
This time round though, I REALLY struggled to come up with an original theme. Initially, I bought loads of green Tamiya Olive Drabs,(1,2 etc..) but changed my mind decided I just did not like green!...I made up loads of different sketches using Photoshop...And still did not like any. Or the ones I liked already looked like ones that had already been done.
I just wanted something 'unique' If there is such a thing when it comes to Macross VF's..so many variations have already been done over the years.
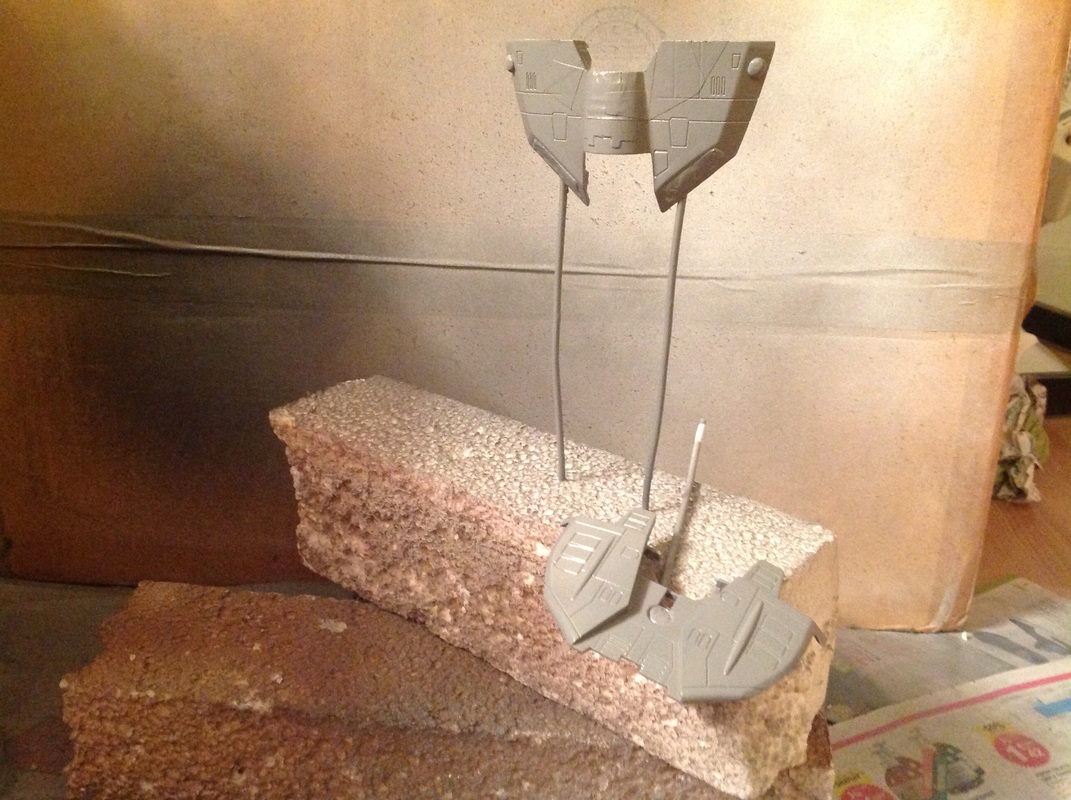
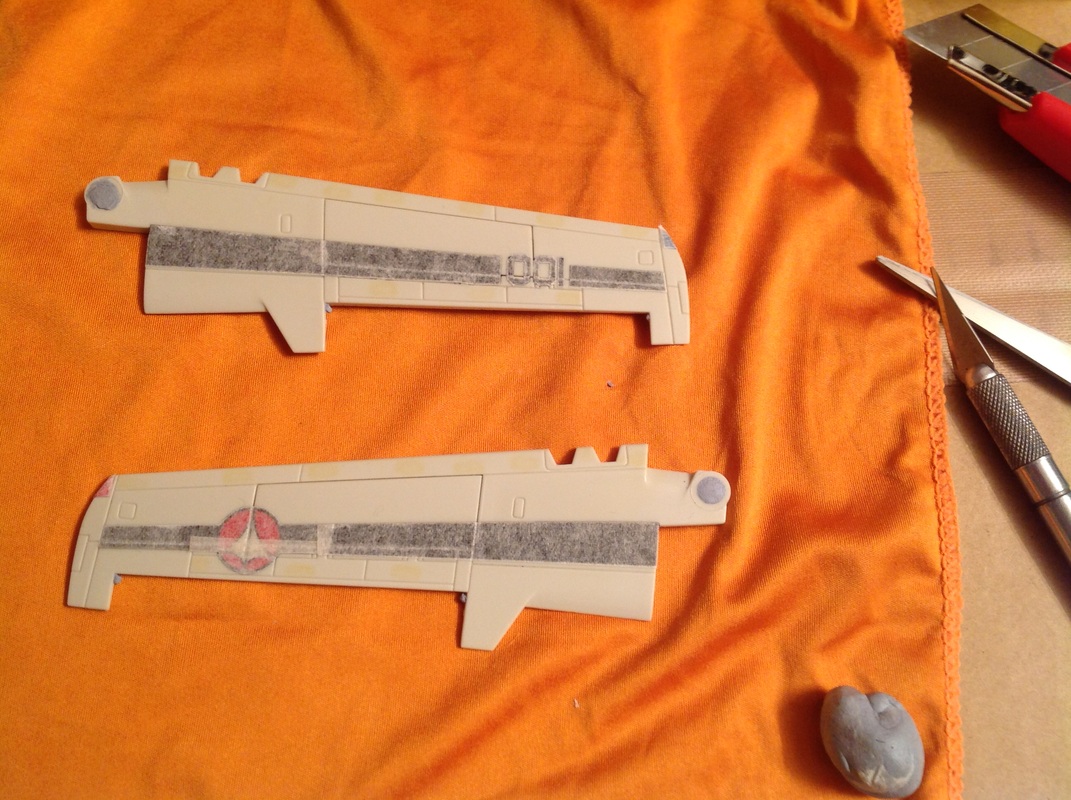
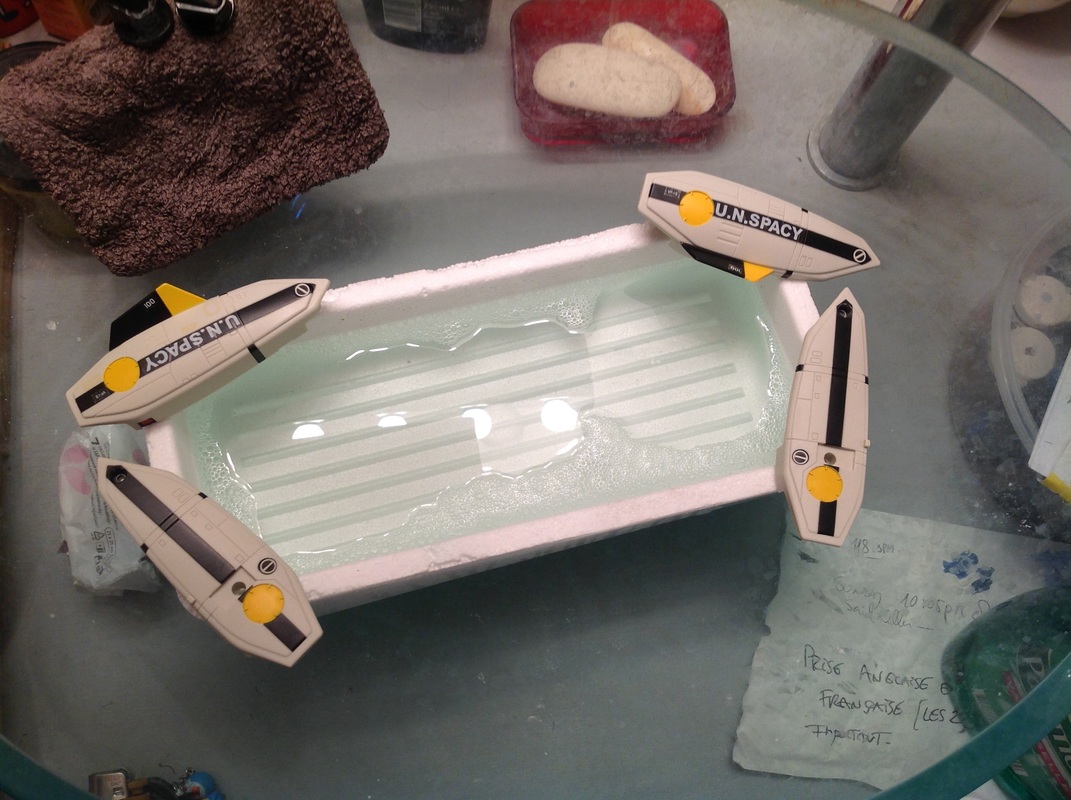
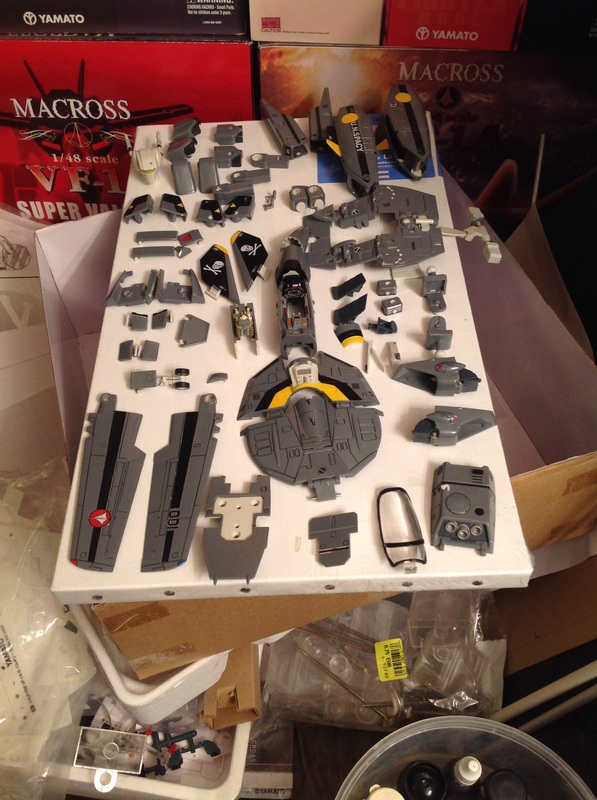
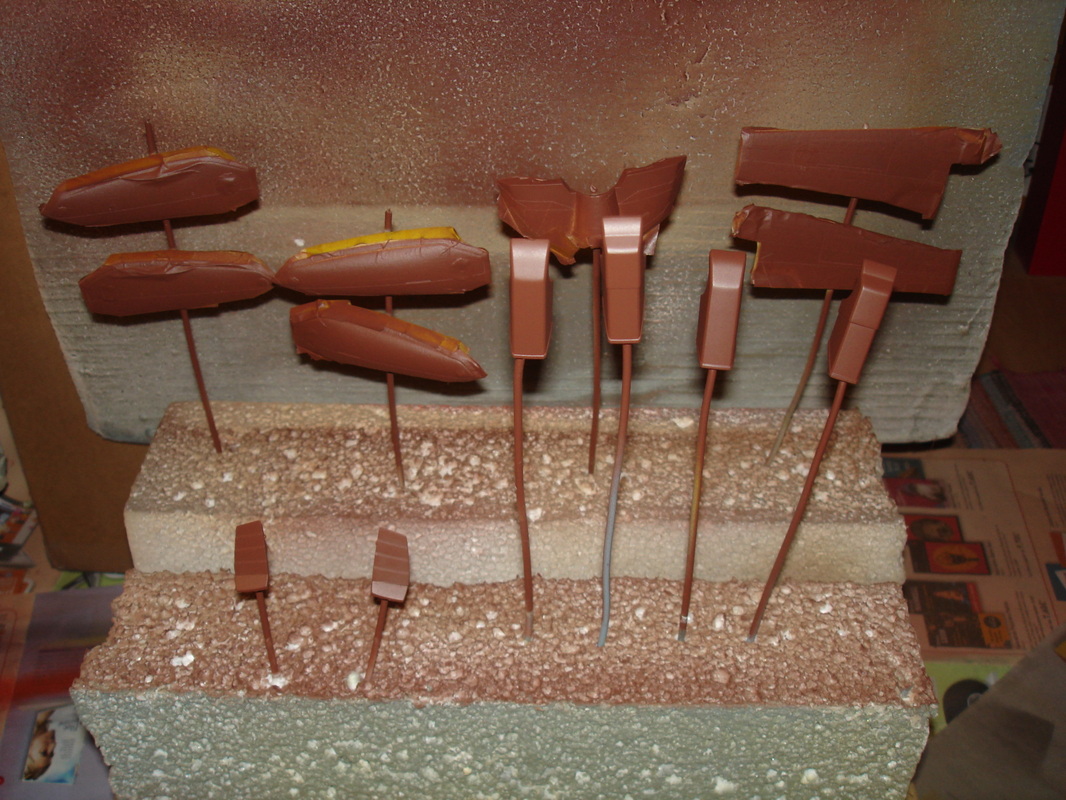
Anyway...after spending days trying to get a theme I liked, I finally made up my mind and opted for a 'Cannon Fodder-Like' VF...I love the Cannon Fodders. So..ended up buying more paint..Browns etc.. and got started on my 3rd Yamato Unpainted kit.
It's taking me forever..and I still have not finished anything. Somehow I loved the last one I did, and I can't help but compare the 2.
Sounds 'big-headed', but that Macross the 1st/frontier Vf I came up with was great...I would've bought it as an official release, not kidding!! Much better than the upcoming Alska-Base or whatever...*sigh*. Why even bother with that one..it seriously sucks....(here I said it, sorry to all the Macross maniacs out there...).I bet most people with a minimum of skills (and a brain...) will just buy an unpainted VF and do their Alaska-base themselves instead of paying Arcadia's over the top asking price...
Another thing,this time I thought I'd do things differently. By that, I mean I'm going to finish everything before assembling the kit. The painting, panel lining, decals the lot. But looks like I'll just settle on the panel lining and retouches and will apply the decals when its buit up.(I generally do all that once the kit is assembled)
To be fair, VF-1's are my favorites Valks, but I would've loved for Yamato/Arcadia to have released other Macross VFs as Unpainted kits aside from the 'regular' ones...Lazy bastards...some people would rather build and paint their toys. Why just stop at the standard VF's. *SIGH*. I'm not spending a fortune on Macross Zero fighters to dismantle and re-paint them. (yes, so people did that, but, see I used 'DID'..as now their prices are just too f'u***d up to risk it. Maybe had they released everything in both completed and kit form, they would still be in business today. (The crappy Themes that Arcadia are releasing, just do not warrant any excitement to be honest, and if they continue down that road, it's only a matter of time before they end up closing shop altogether ...)
For my next one,I think I'll go for a VF-1S, just for a change of head if anything!!! Or a custom of some sort..not really decided yet, (nor bought the kit). OR!!! shall I do the Alaska one??? I could do it in a few days easy!!
I also found an unbuilt Gundam Kit under a pile of models. I've had it for years, probably never built it as I'm not a massive Gundam fan. (yes, maybe 20 years ago, I bought a few and used to like them, but nowadays aside from the RX-78 and a few classics..I'm not really interested. Still..might do that just for a break in between 1/60 VFs...and my lack of funds..after all these DX Frontiers and SOCs I've been getting...
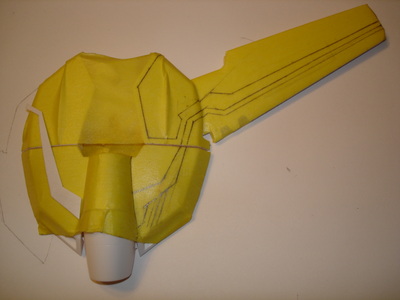
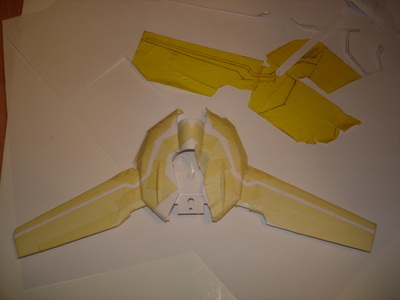
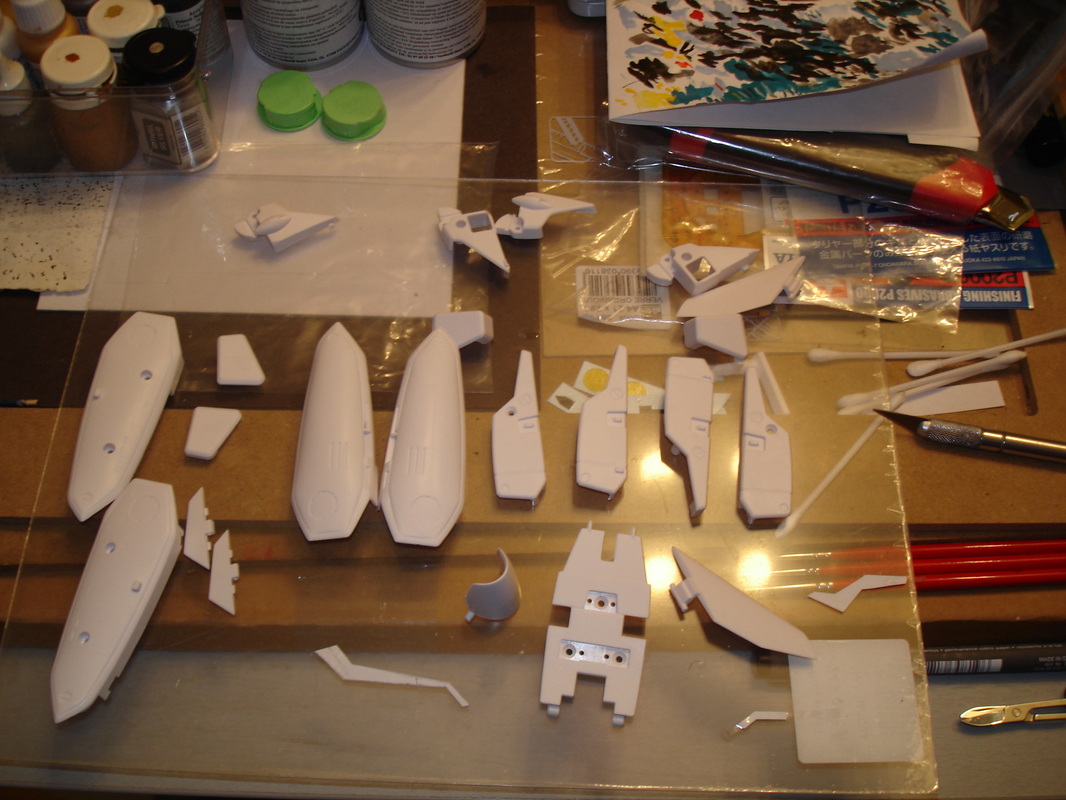
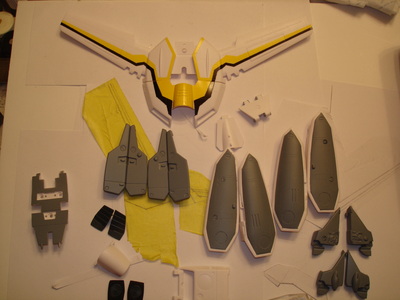
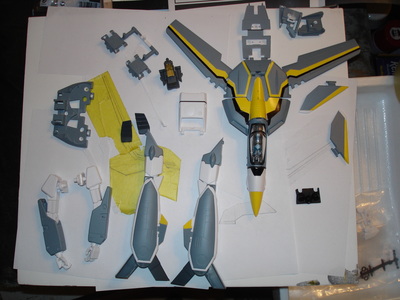
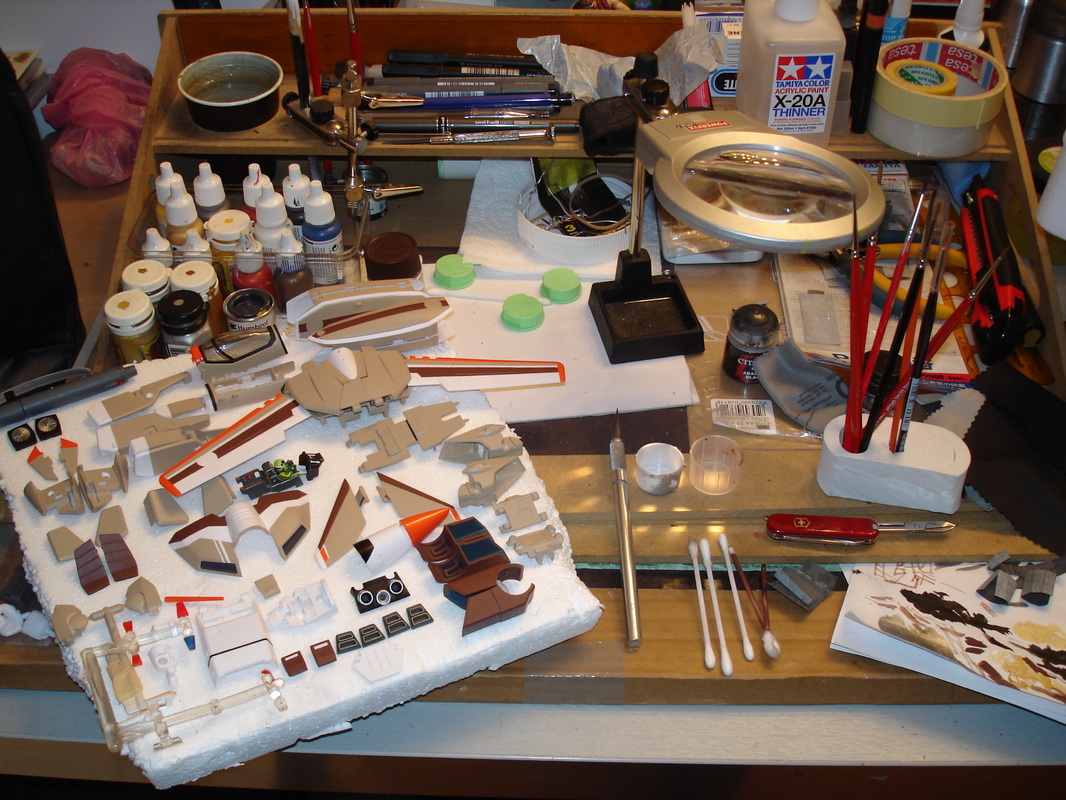
Anyway, all that rambling aside (Does anyone even read any of that crap??!! I'm really having doubts) here is what's I've done so far, 1st pic is the design I came up with , so the end product should be like that really! (fingers crossed!).
It's getting there, but it still feels like I have much to do...


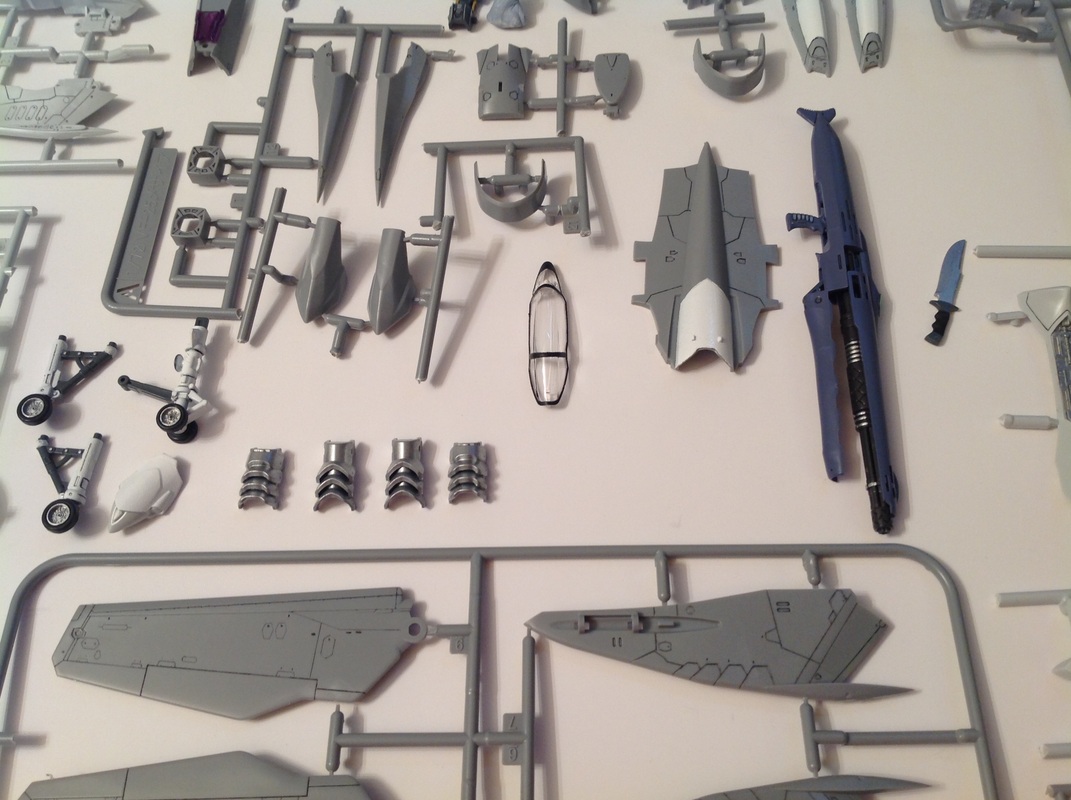
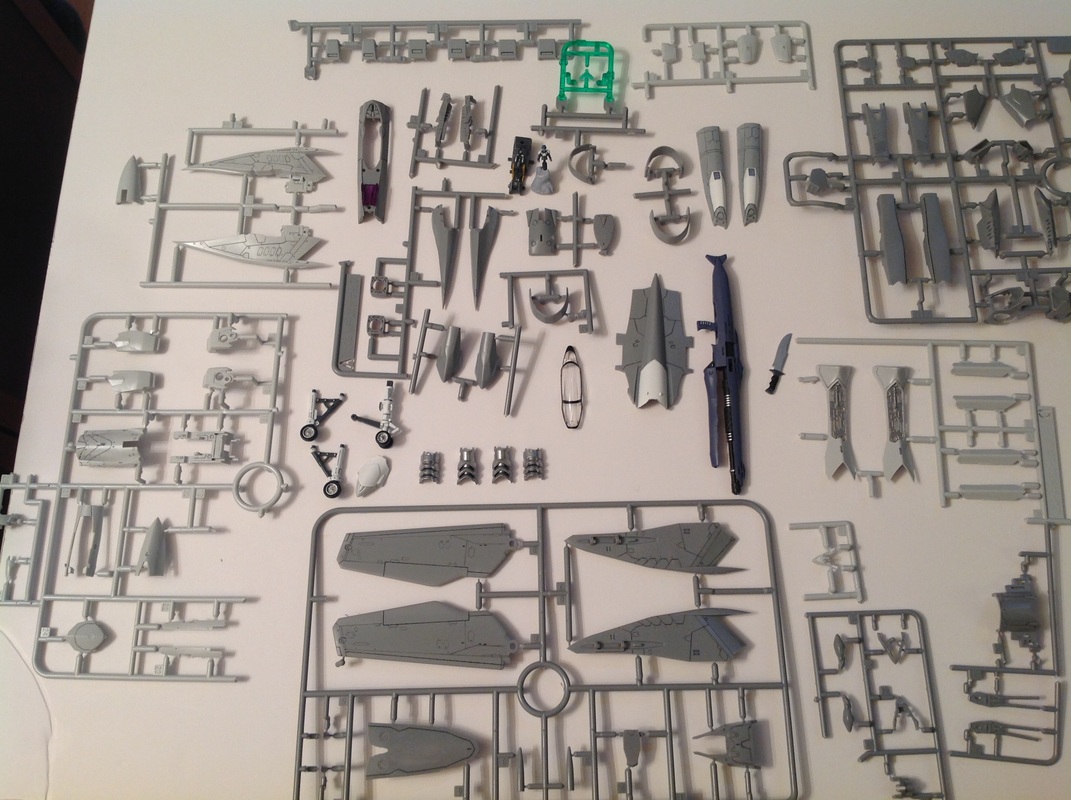
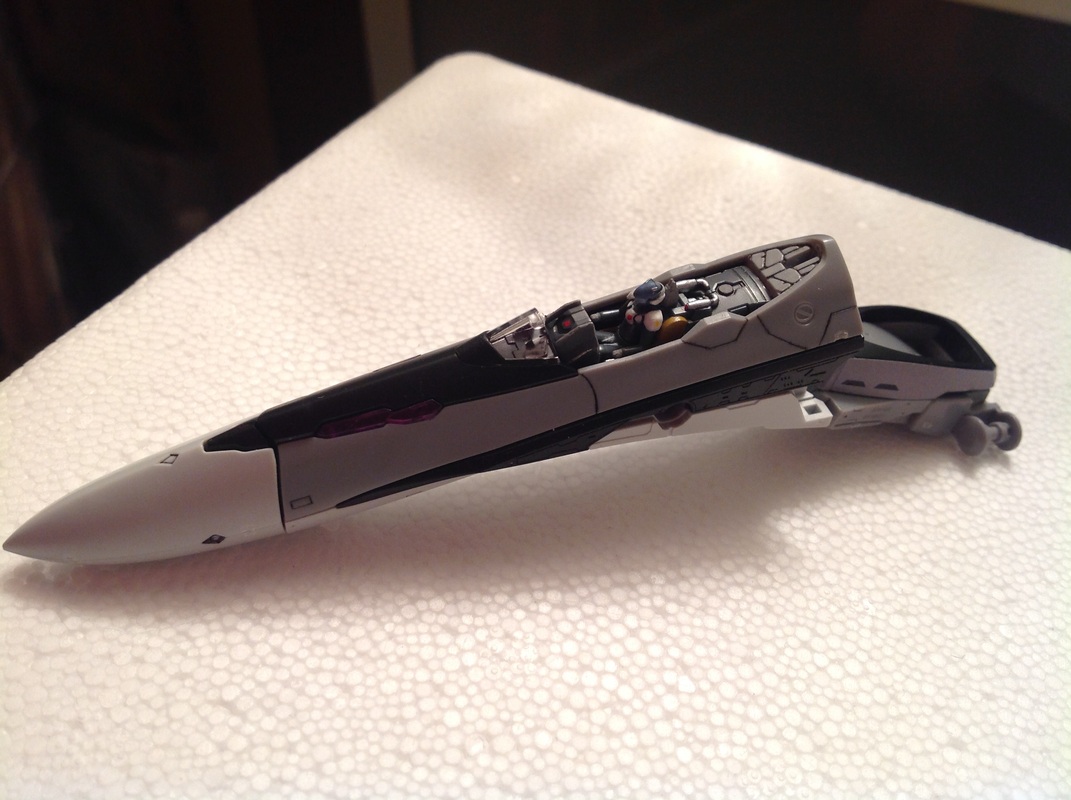
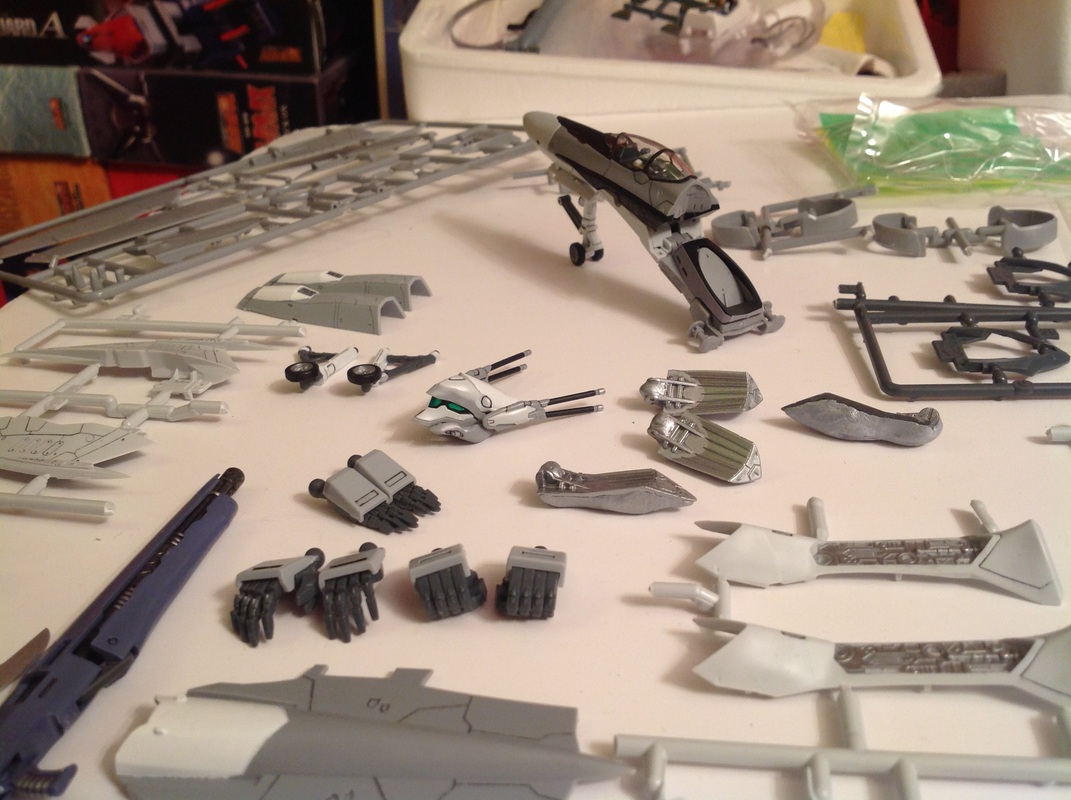
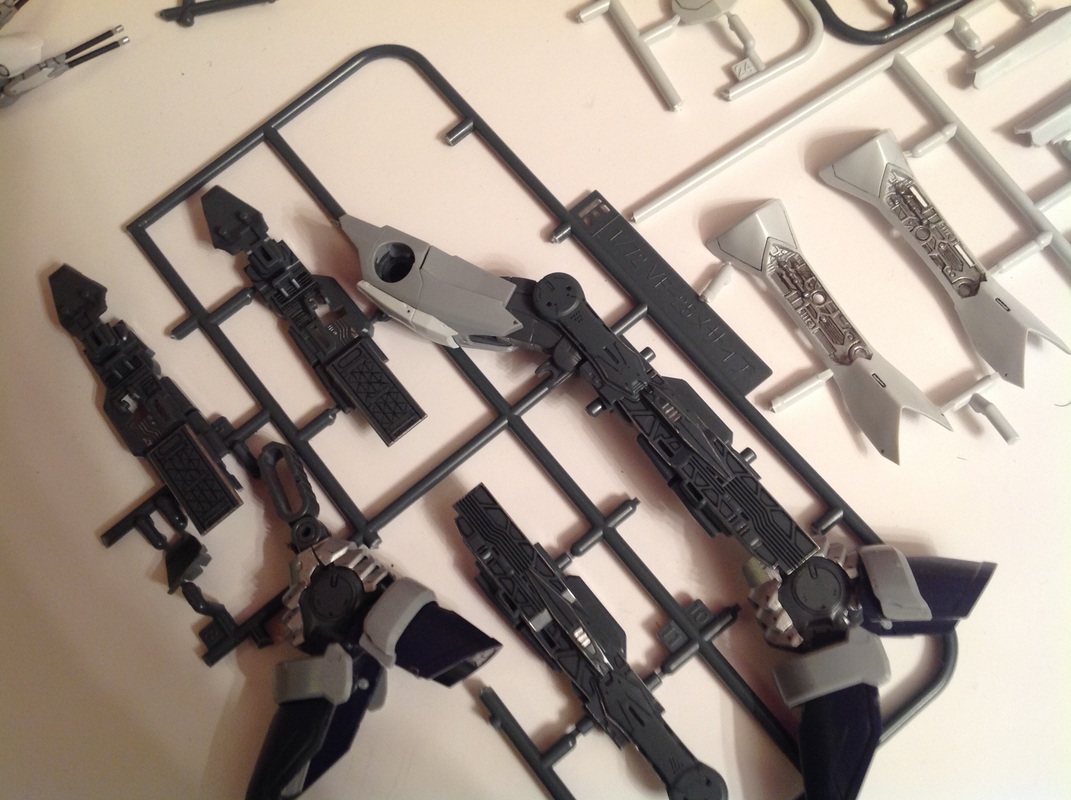
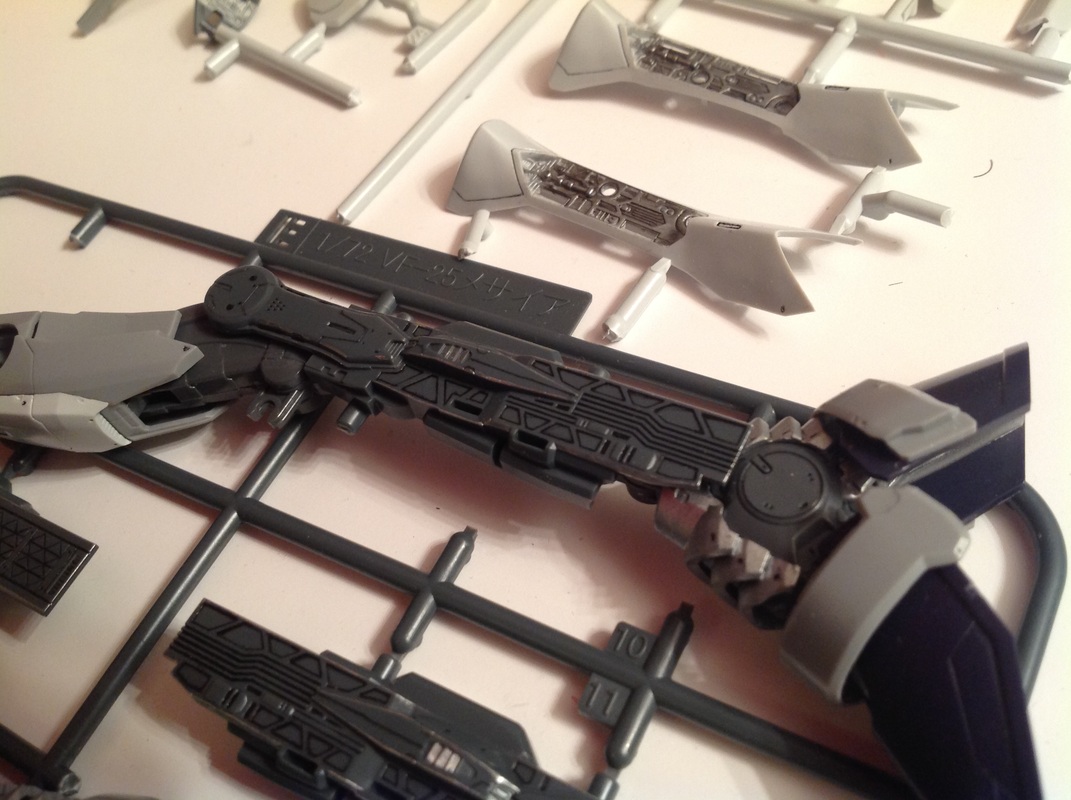
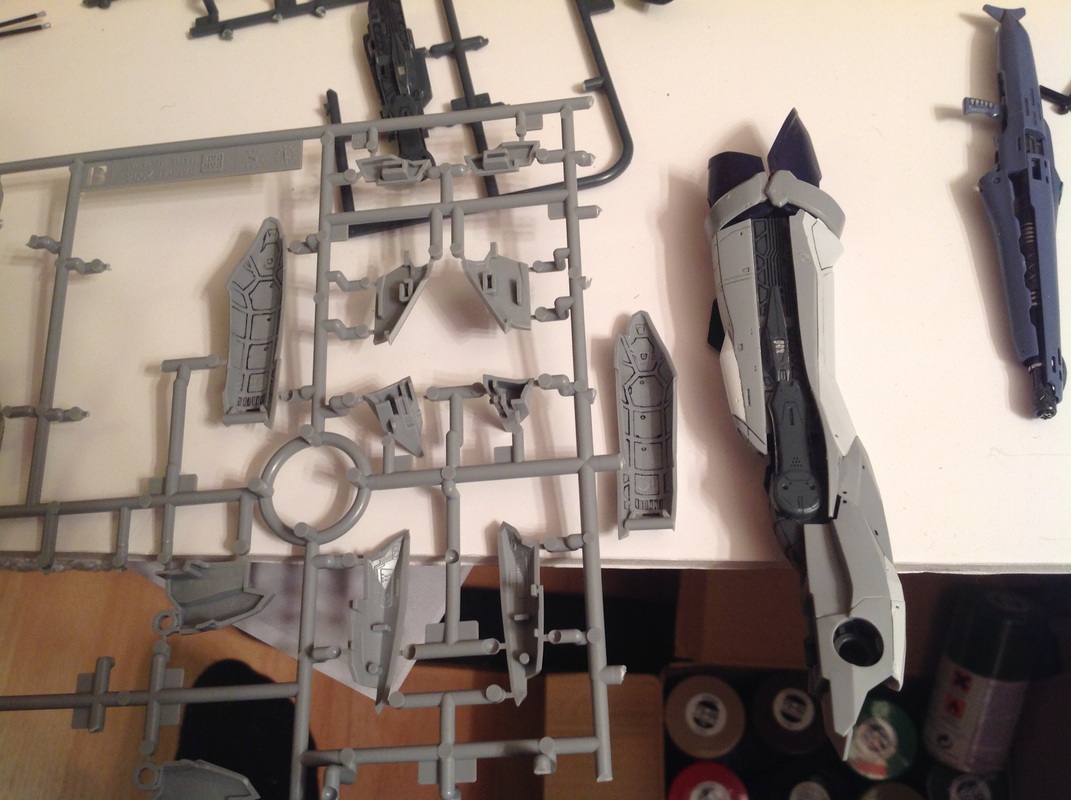
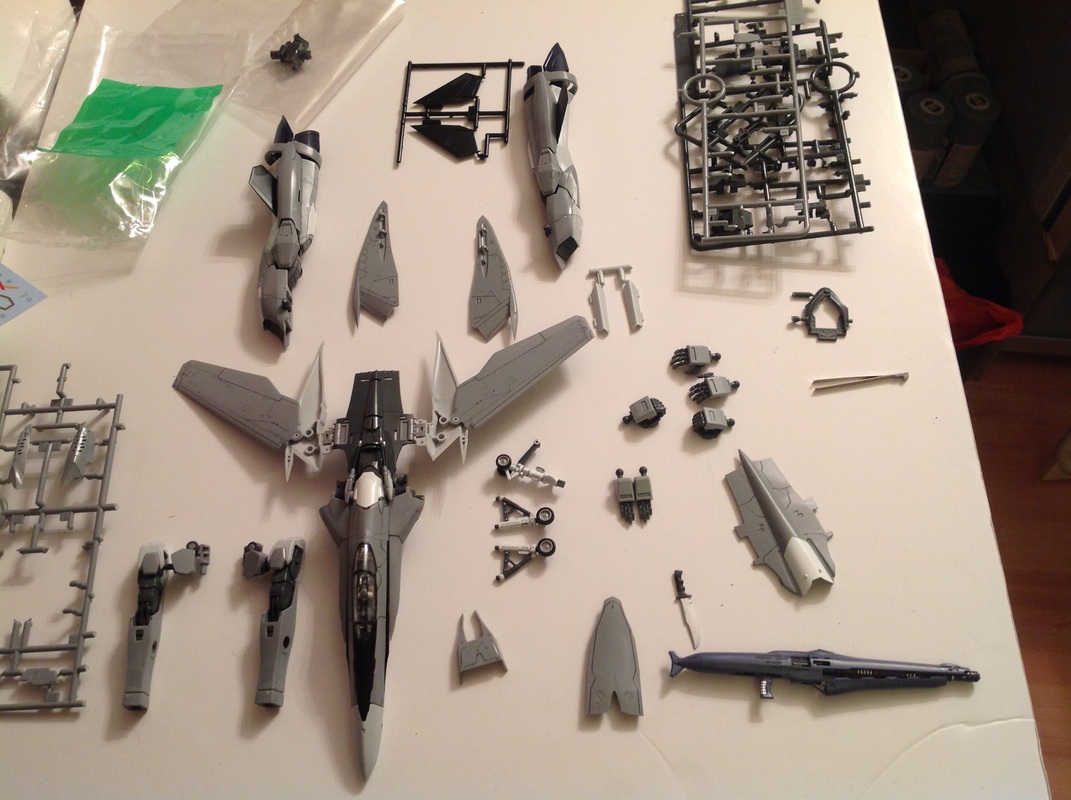
BANDAI 1/72 VF-25 OZMA VERSION:
Started October 14th 2014...finished October 26/27th..2014
All right!! time for another kit. I've started another 1/60 Yamato, but unfortunately, I am really struggling with the scheme and color pattern...So for now, I've put it on hold and decided to attack the 1/72 Bandai Macross Frontier Ozuma.
The kit is ....well..what you pretty much expect from a Bandai Kit, no glue needed, a few pins for hinges, color molded parts etc.
It is a variable kit, so a lot of intricate hinges and articulation to build. Overall, As the kit was not white, I did not want to paint it all. If you take into account that it is a transforming kit, with primer, cating, paint, varnish etc...it would've been impossible to transform. The parts are very tightly joined together, snot even half a millimeter of space between parts...So with paint it would've been impossible to transform.
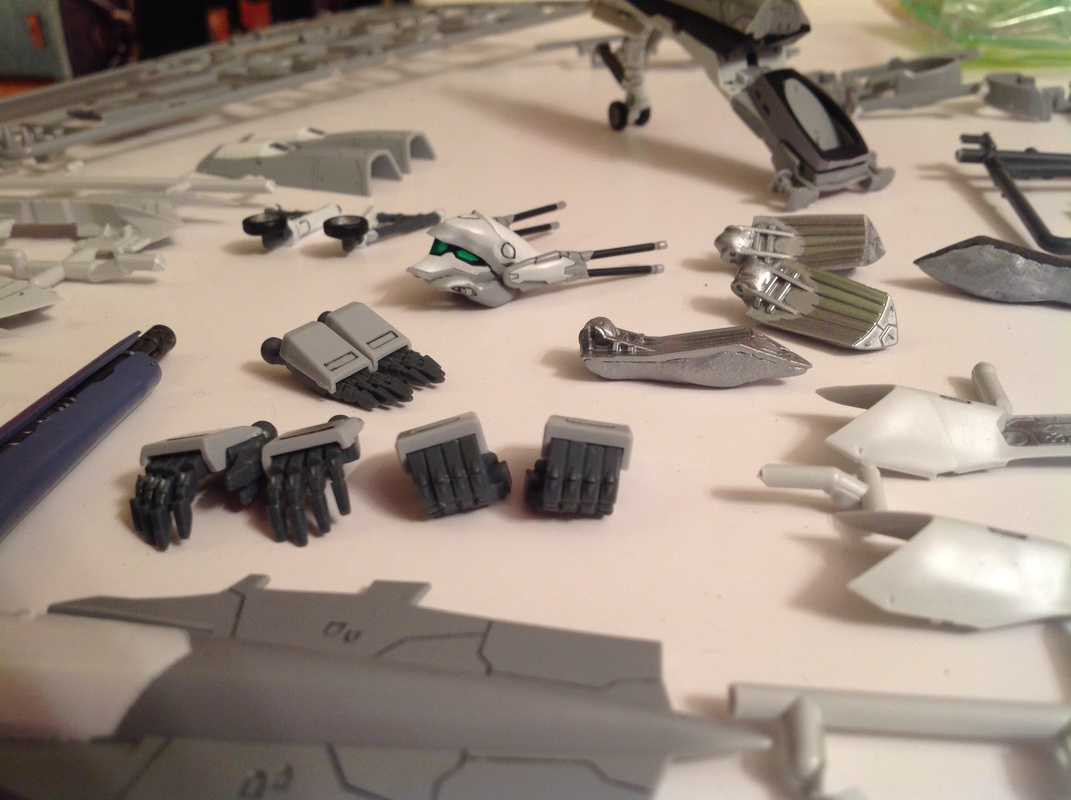
Anyway, so...the main paint went on the legs, back of fuselage, head, feet, wheels,obviously cockpit and pilot and LOADS and LOADS of panel lining and detailing.
One of the impressive part of the kit is the details...not bad at all, nearly as good as Hasegawa (not quite though....)...
It wasn't a 3 months build, but had some issues, mainly with the unbelievably crap Bandai decals, that crumbled in my hands after applied...so had to settle for stickers (aside from the cow's head on the top that did not get damaged...Anyway..I don't know, not sure I really had that much fun building it to be frank. I think I will get another one, but this time the totally white one so that I can attempt an original paint job..... Here are the pics of that build from beginning to end..I still need the Battroid mode and Gerwalk pics, but don't really feel like transforming it as It does not feel that sturdy...
Started October 14th 2014...finished October 26/27th..2014
All right!! time for another kit. I've started another 1/60 Yamato, but unfortunately, I am really struggling with the scheme and color pattern...So for now, I've put it on hold and decided to attack the 1/72 Bandai Macross Frontier Ozuma.
The kit is ....well..what you pretty much expect from a Bandai Kit, no glue needed, a few pins for hinges, color molded parts etc.
It is a variable kit, so a lot of intricate hinges and articulation to build. Overall, As the kit was not white, I did not want to paint it all. If you take into account that it is a transforming kit, with primer, cating, paint, varnish etc...it would've been impossible to transform. The parts are very tightly joined together, snot even half a millimeter of space between parts...So with paint it would've been impossible to transform.
Anyway, so...the main paint went on the legs, back of fuselage, head, feet, wheels,obviously cockpit and pilot and LOADS and LOADS of panel lining and detailing.
One of the impressive part of the kit is the details...not bad at all, nearly as good as Hasegawa (not quite though....)...
It wasn't a 3 months build, but had some issues, mainly with the unbelievably crap Bandai decals, that crumbled in my hands after applied...so had to settle for stickers (aside from the cow's head on the top that did not get damaged...Anyway..I don't know, not sure I really had that much fun building it to be frank. I think I will get another one, but this time the totally white one so that I can attempt an original paint job..... Here are the pics of that build from beginning to end..I still need the Battroid mode and Gerwalk pics, but don't really feel like transforming it as It does not feel that sturdy...

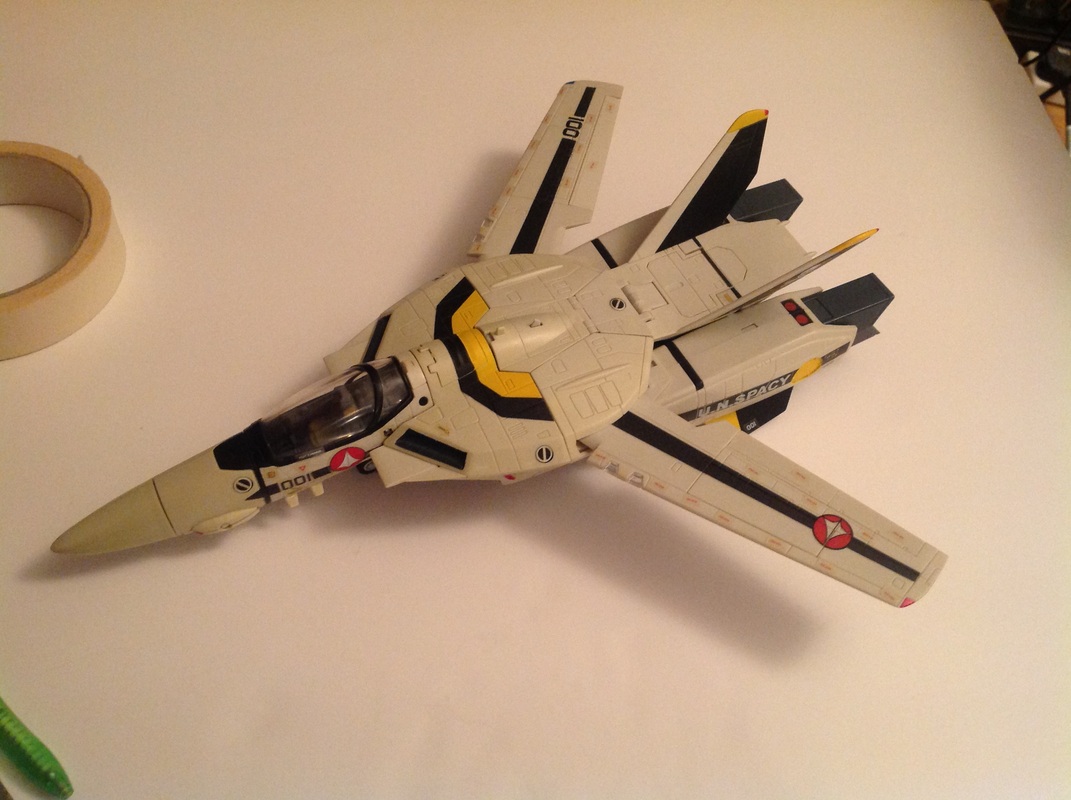
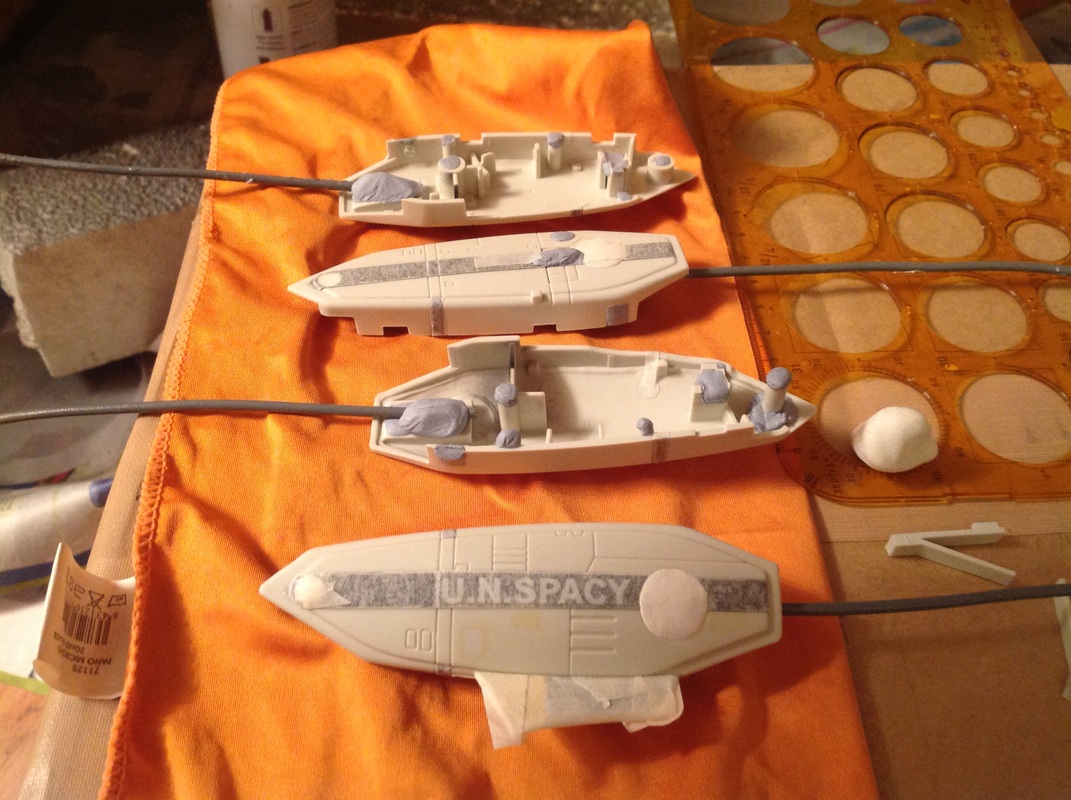
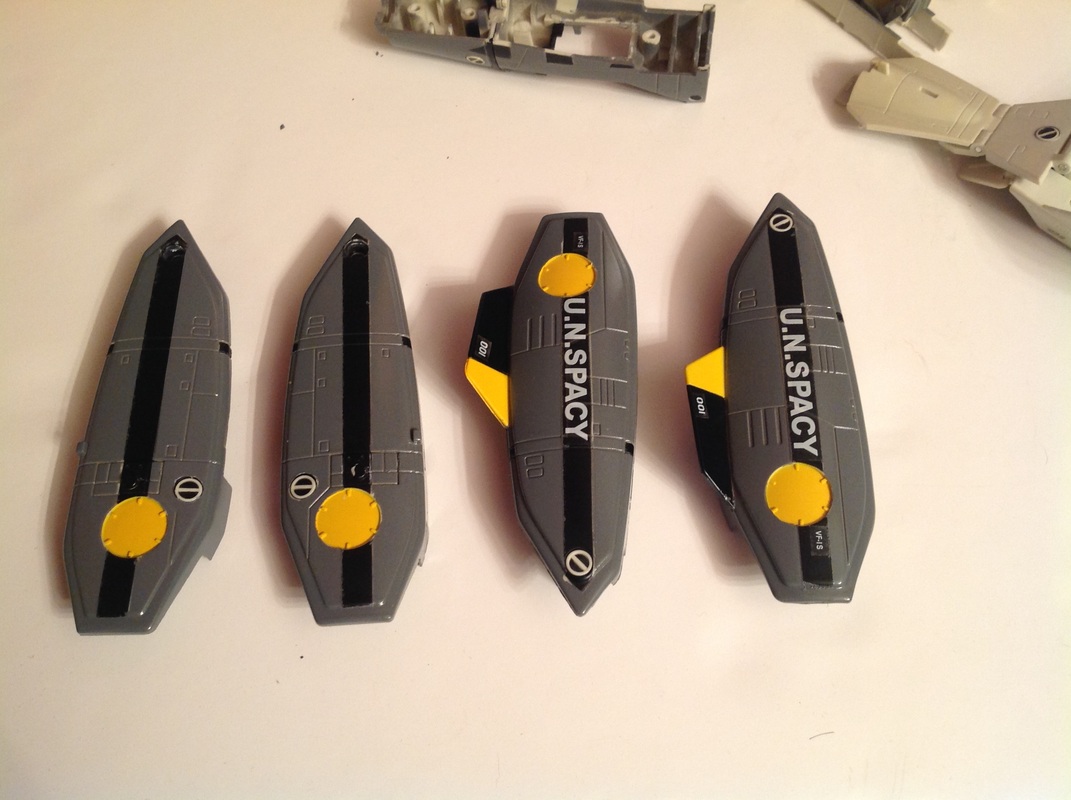
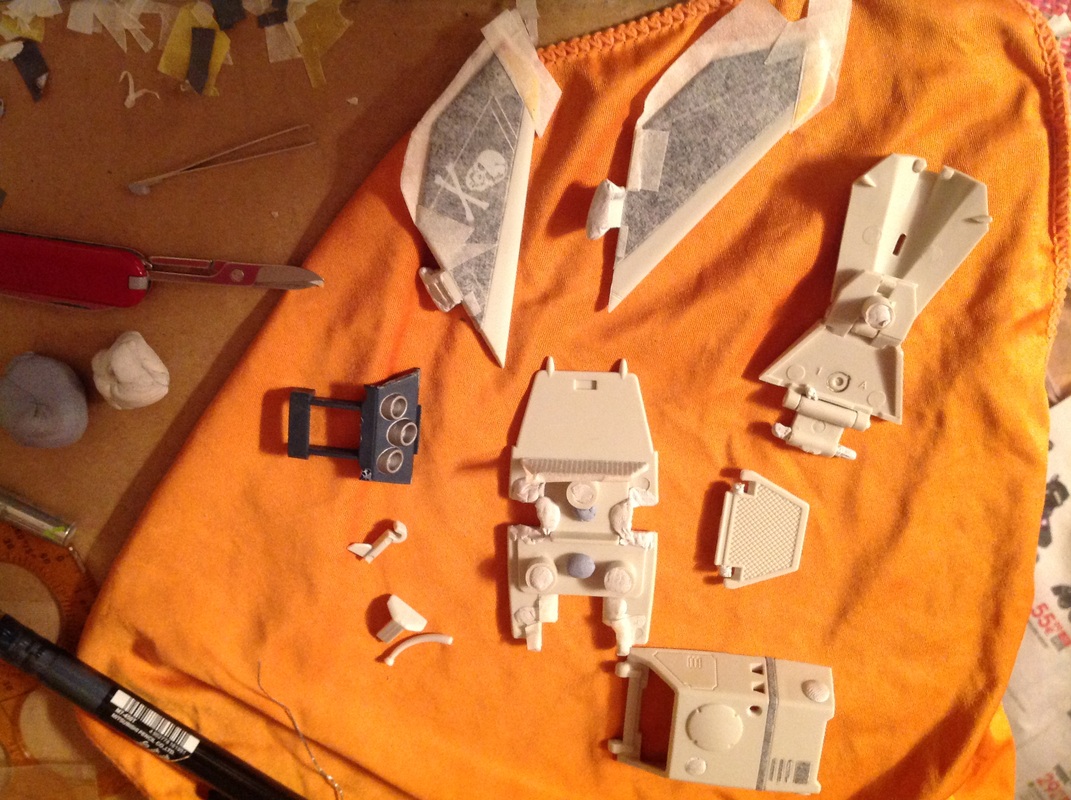
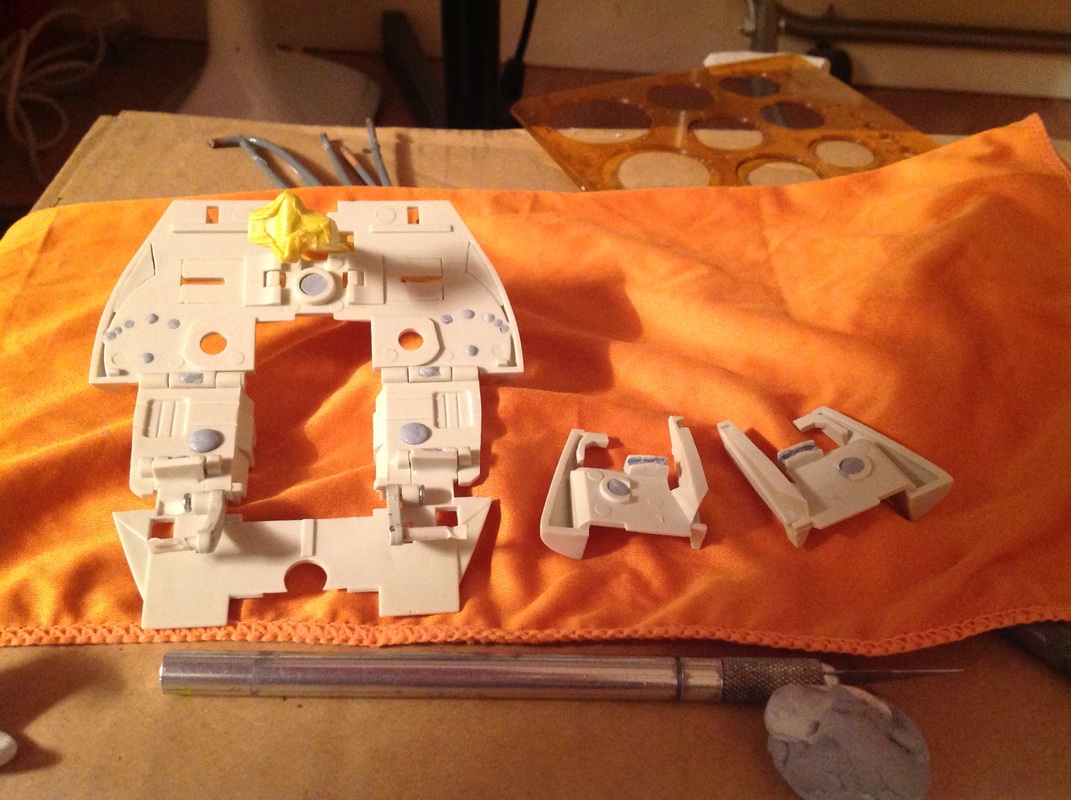
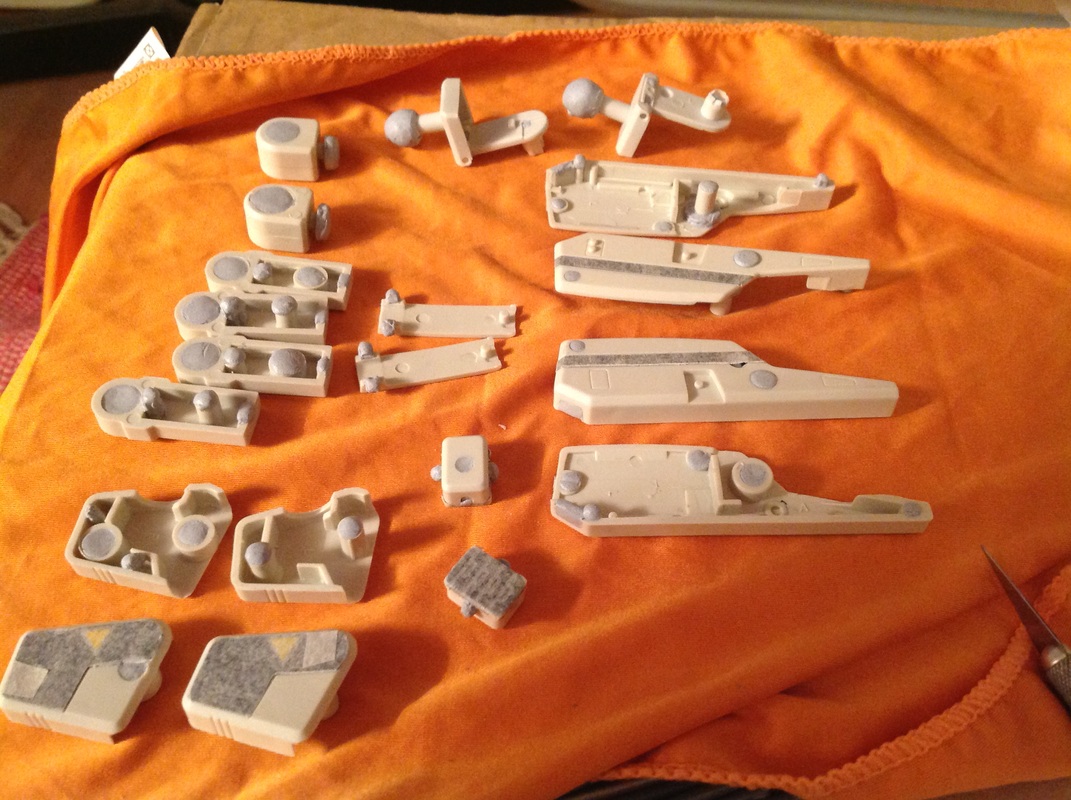
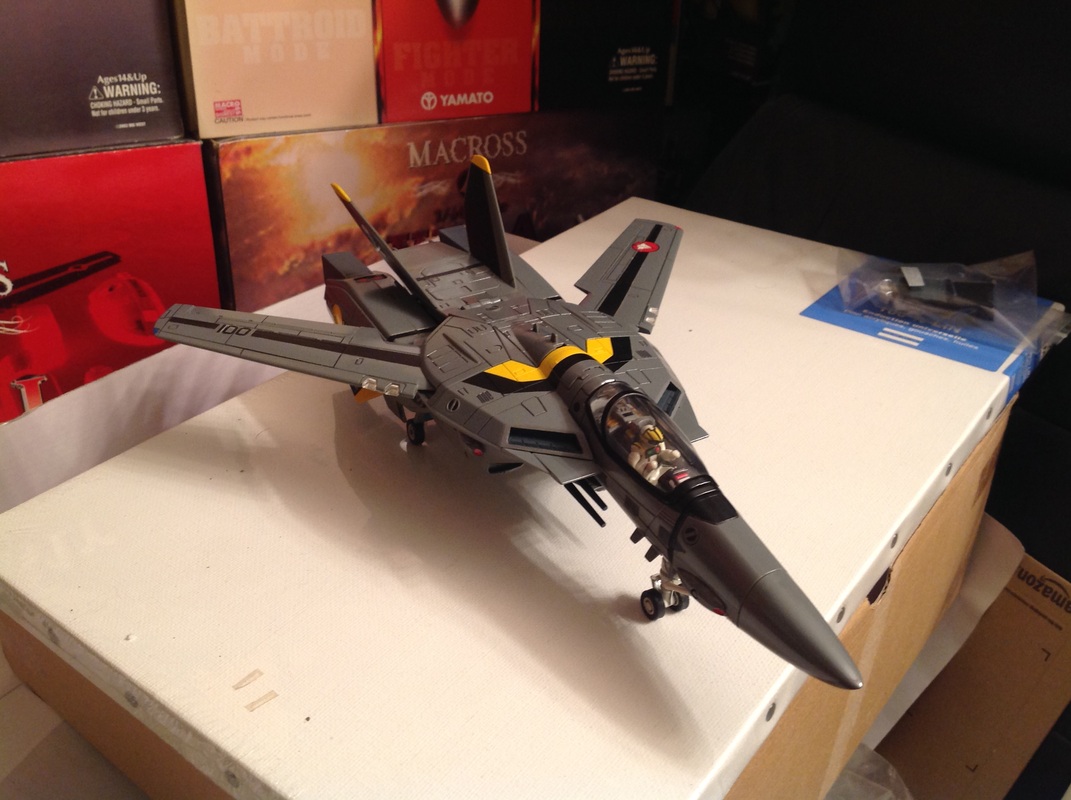
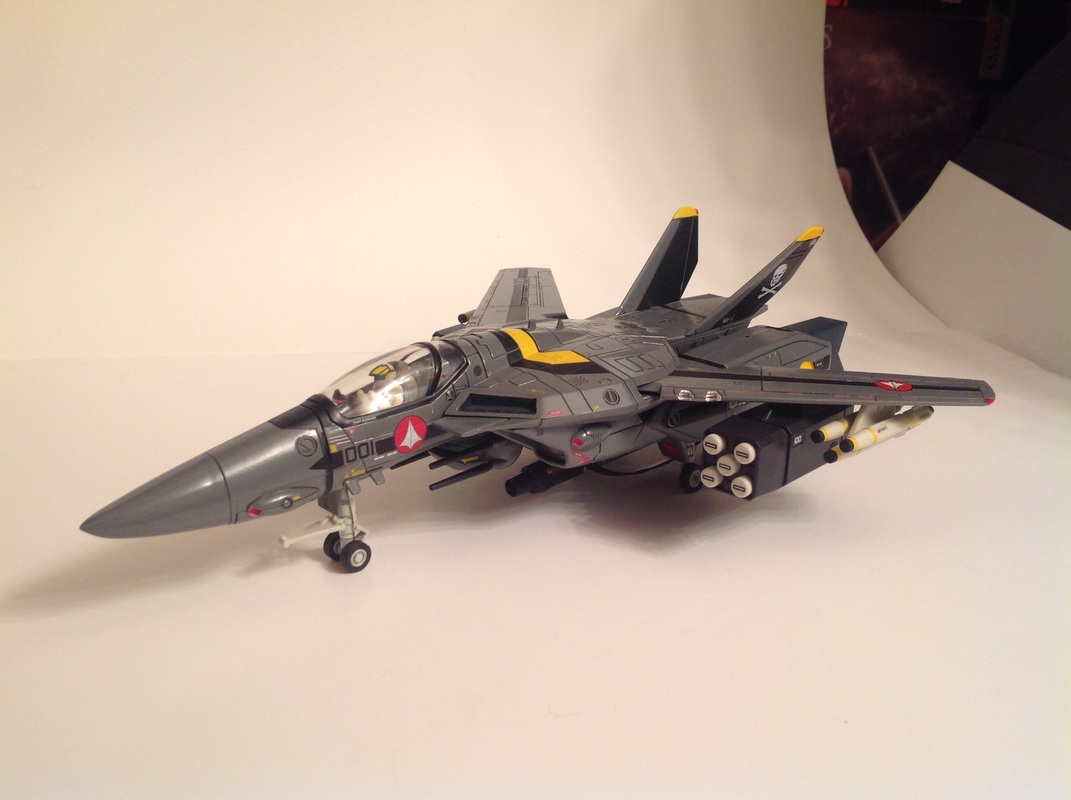
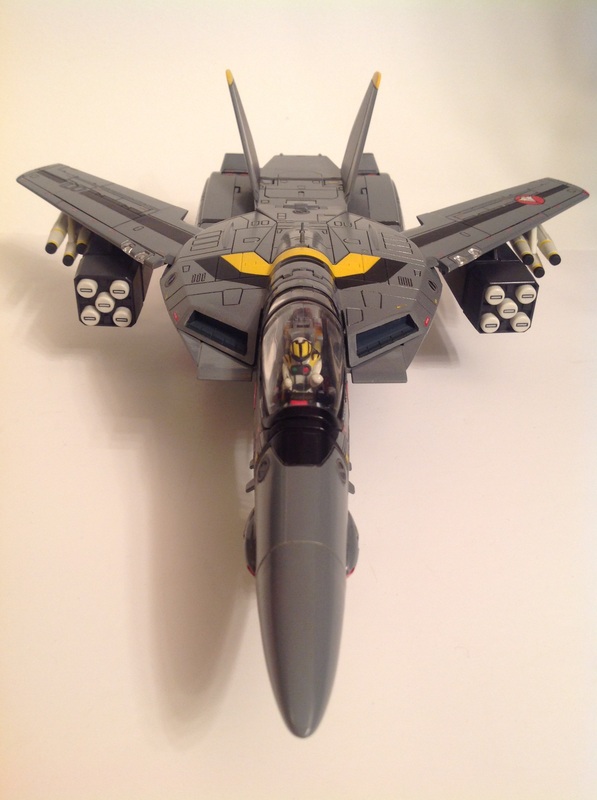
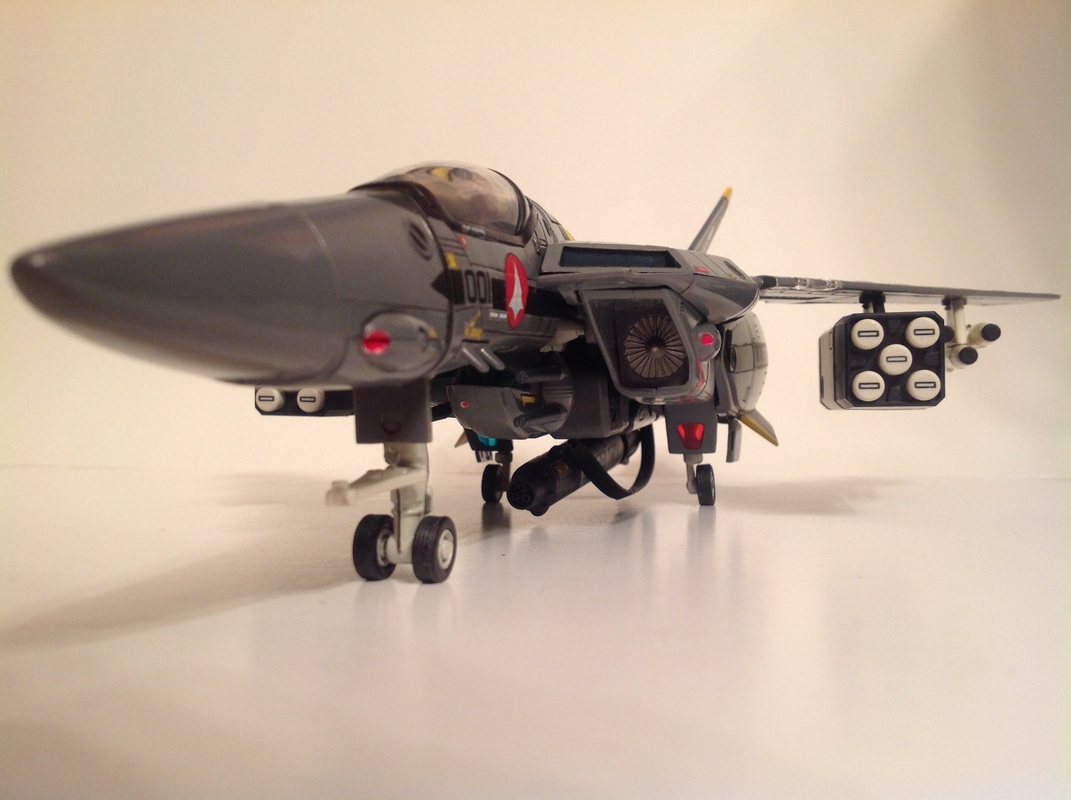
Yamato 1/48 Roy VF-1S custom: started Saturday 28th February 2015...Status..Finished 13 March 2015 . (mostly finished needs weathering.)
O.k.
So, I bought a 1/48 Yamato Macross VF-1S Roy ver. Got it really cheap as it had some slight yellowing to it.
I bought it to customize it. So here goes!!
The idea was to customize it as a Stealth Roy ver. Thing is, as it is much bigger than my usual 1/60, I did not want to spend a fortune on Tamiya spray paints.
So ended up using some 'Cheap' paint instead....Not the best thing to do as it is not as sharp and thin as the Tamiya paints.
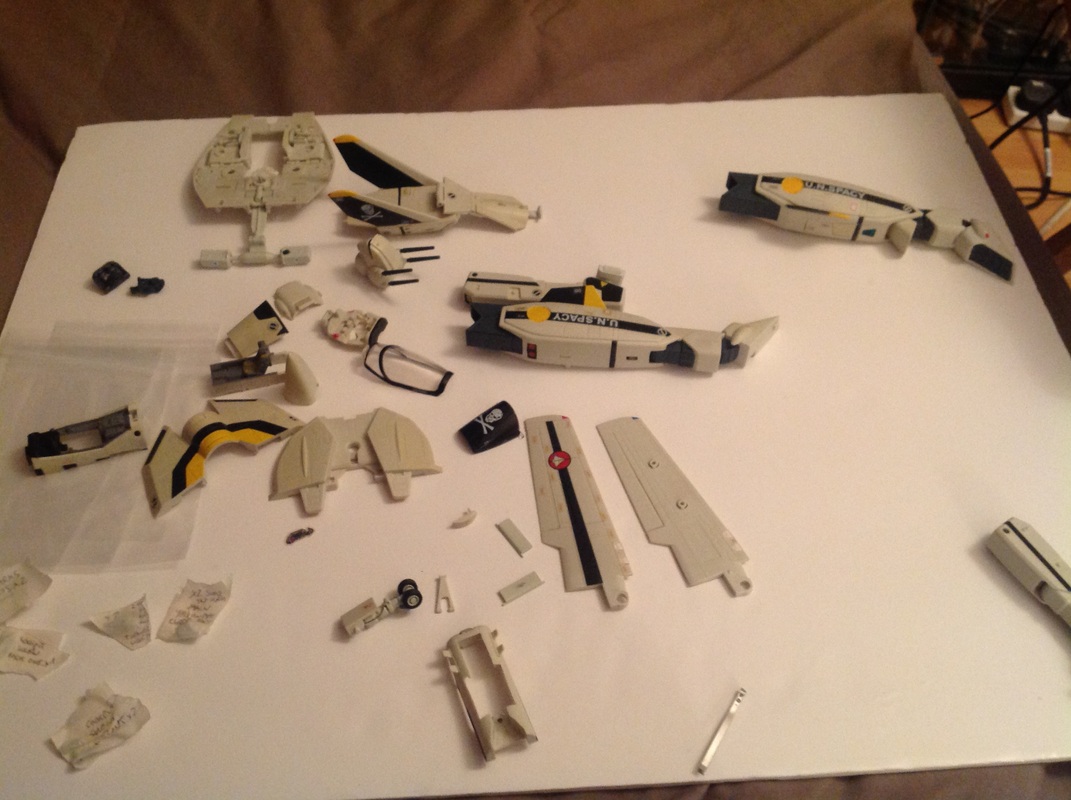
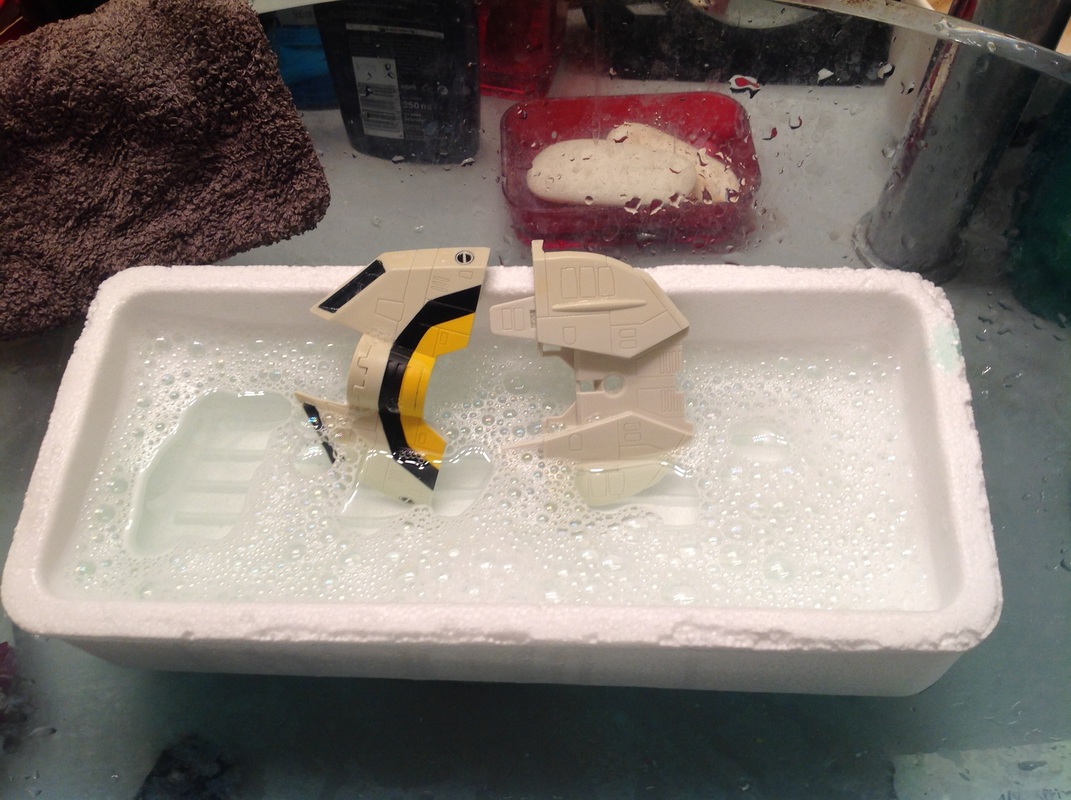
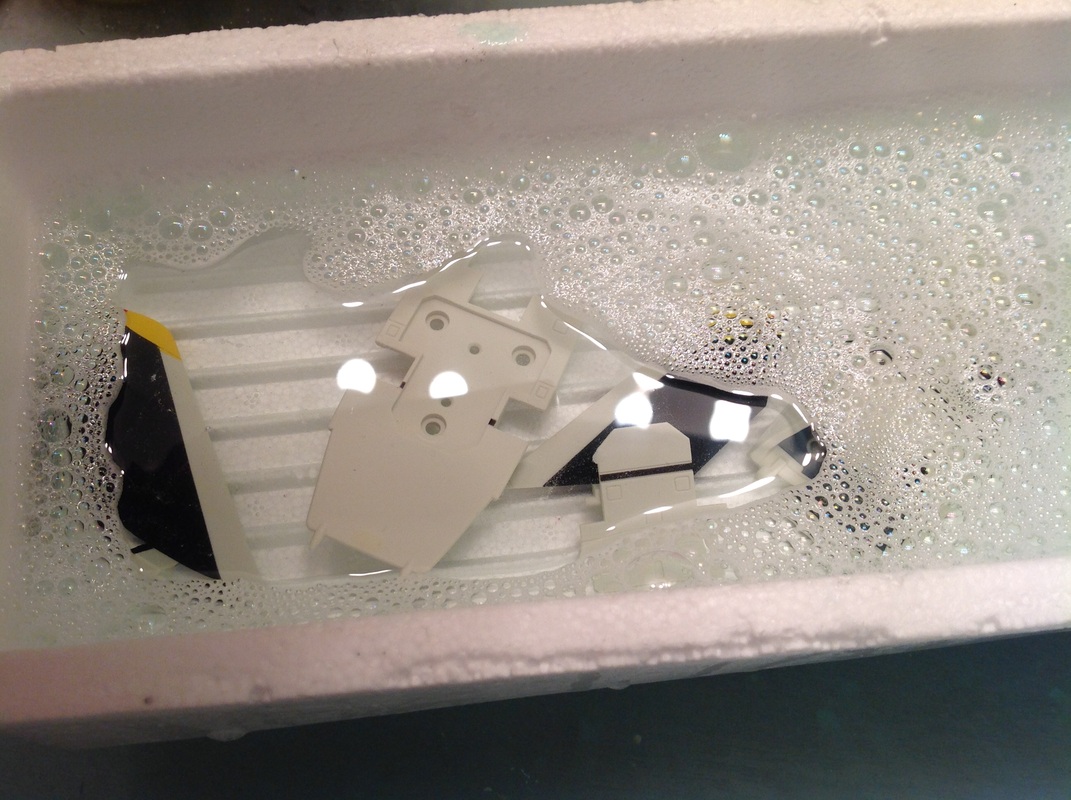
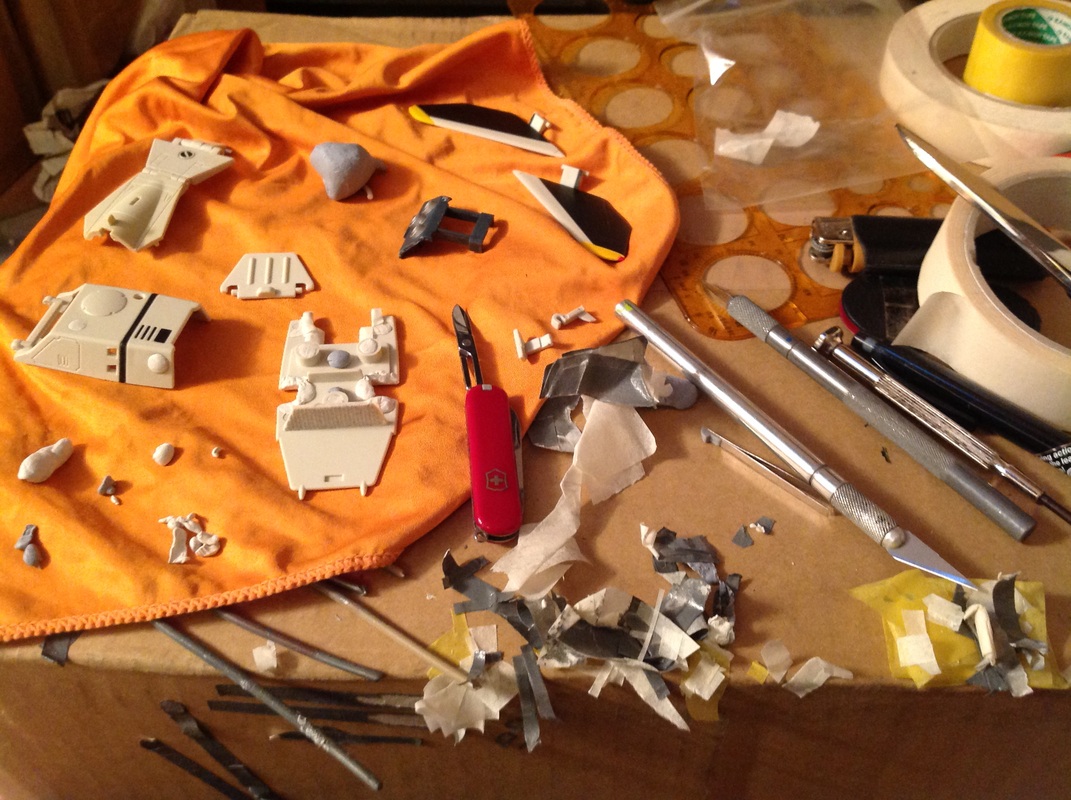
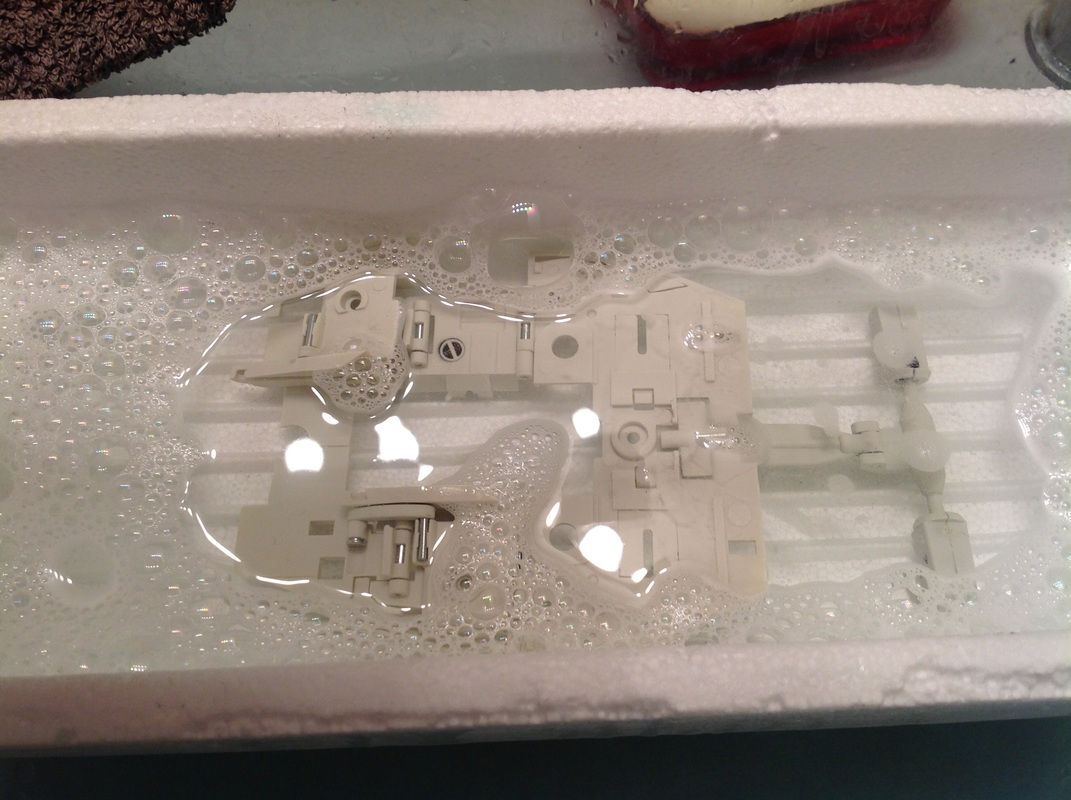
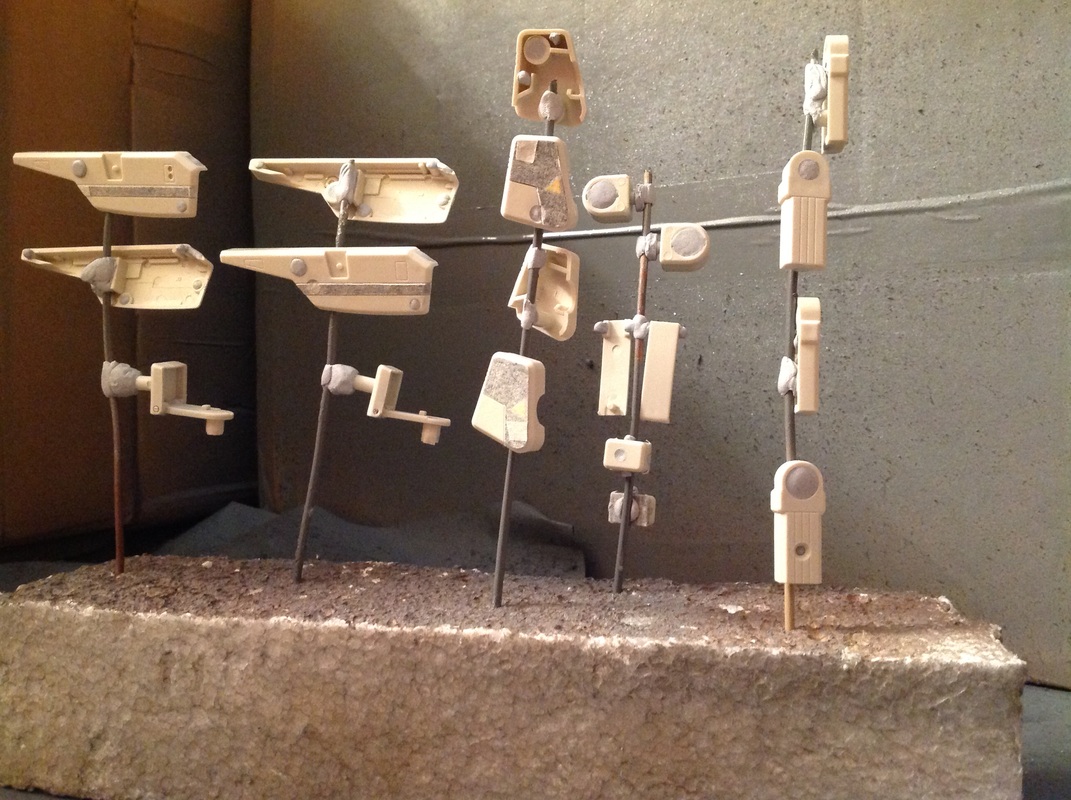
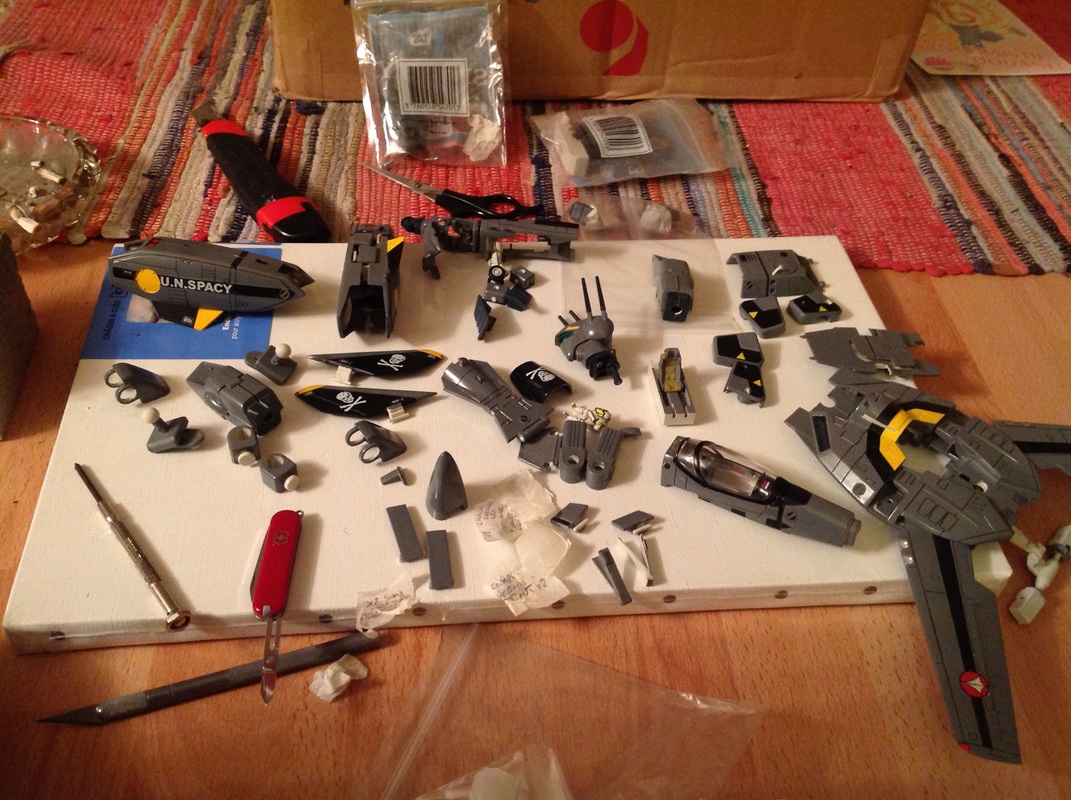
OH Well...Anyway. Dismantled the whole thing. Spent AGES masking...I used a lot of blue tack as well as tape to mask...Big mistake..the blue tack kinda melts when in contact with that paint...
So 1st issue....Then, the thickness of the paint makes it hard for the parts not to rub against each other. Not that it matters as it will mostly be displayed in Fighter mode. But need to be careful when transforming.
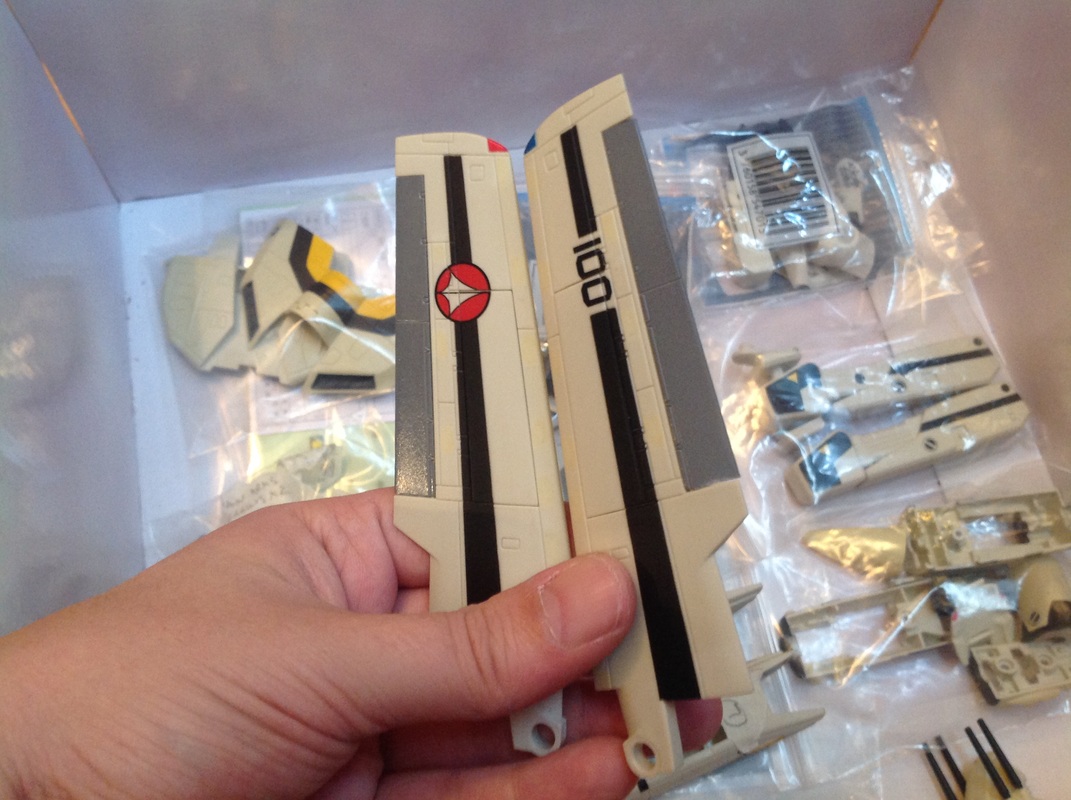
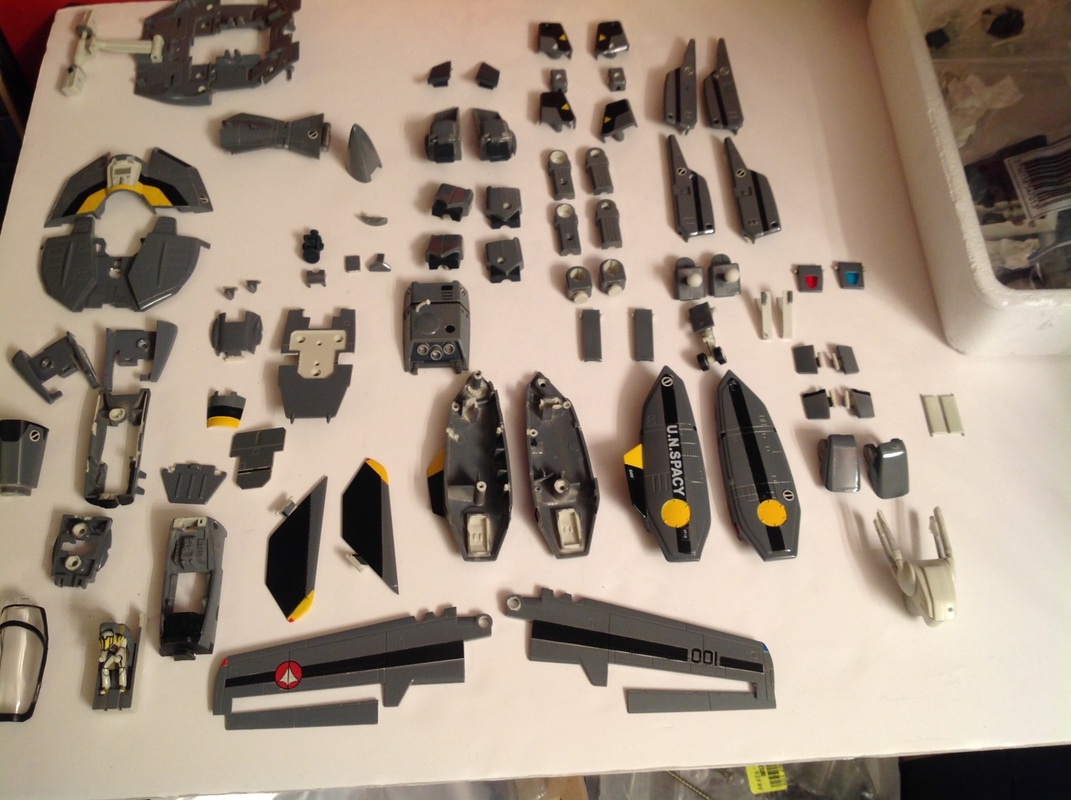
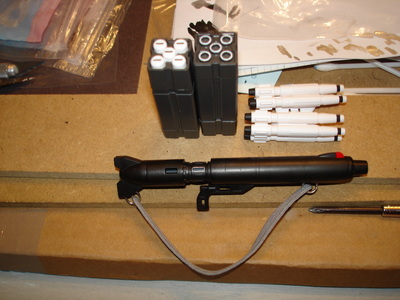
Also repainted/detailed the cockpit, missiles and other bits. Also, as I do not have any 1/48 decals, ended up using the stickers.
Obviously, trimmed them to minimize the 'Sticker Look' which sucks.
In all, took me about 3 and a bit weeks. Its not bad, but still needs to be weathered.
So that's all for now! here are the pics!
O.k.
So, I bought a 1/48 Yamato Macross VF-1S Roy ver. Got it really cheap as it had some slight yellowing to it.
I bought it to customize it. So here goes!!
The idea was to customize it as a Stealth Roy ver. Thing is, as it is much bigger than my usual 1/60, I did not want to spend a fortune on Tamiya spray paints.
So ended up using some 'Cheap' paint instead....Not the best thing to do as it is not as sharp and thin as the Tamiya paints.
OH Well...Anyway. Dismantled the whole thing. Spent AGES masking...I used a lot of blue tack as well as tape to mask...Big mistake..the blue tack kinda melts when in contact with that paint...
So 1st issue....Then, the thickness of the paint makes it hard for the parts not to rub against each other. Not that it matters as it will mostly be displayed in Fighter mode. But need to be careful when transforming.
Also repainted/detailed the cockpit, missiles and other bits. Also, as I do not have any 1/48 decals, ended up using the stickers.
Obviously, trimmed them to minimize the 'Sticker Look' which sucks.
In all, took me about 3 and a bit weeks. Its not bad, but still needs to be weathered.
So that's all for now! here are the pics!